Last update: 2025-08-03
201: Interactive Music
Lesson 1: Handling Loops with Pre-Entry and Post-Exit
Let's add some music to the game. In these tutorials, we'll reuse a modified version of the Wwise 201 Cube music and will try to integrate it using FMOD tools. We'll start by setting up a music track and making a loop handling pre-entry and post-exit phases.
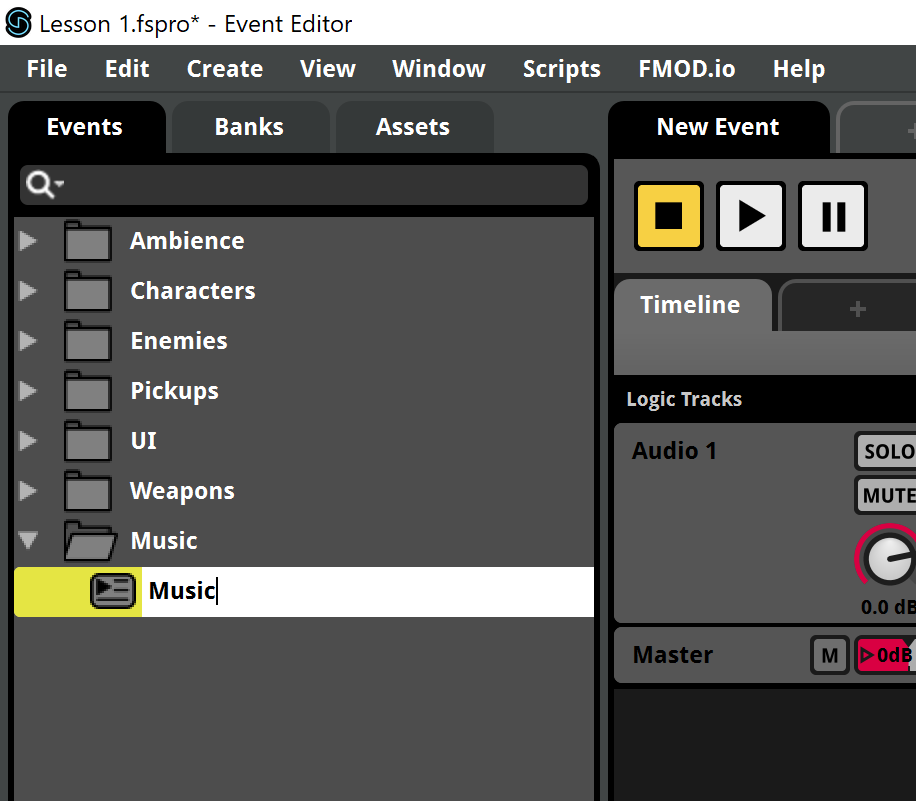
- Create a Music folder and add a 2D Timeline Event in it.
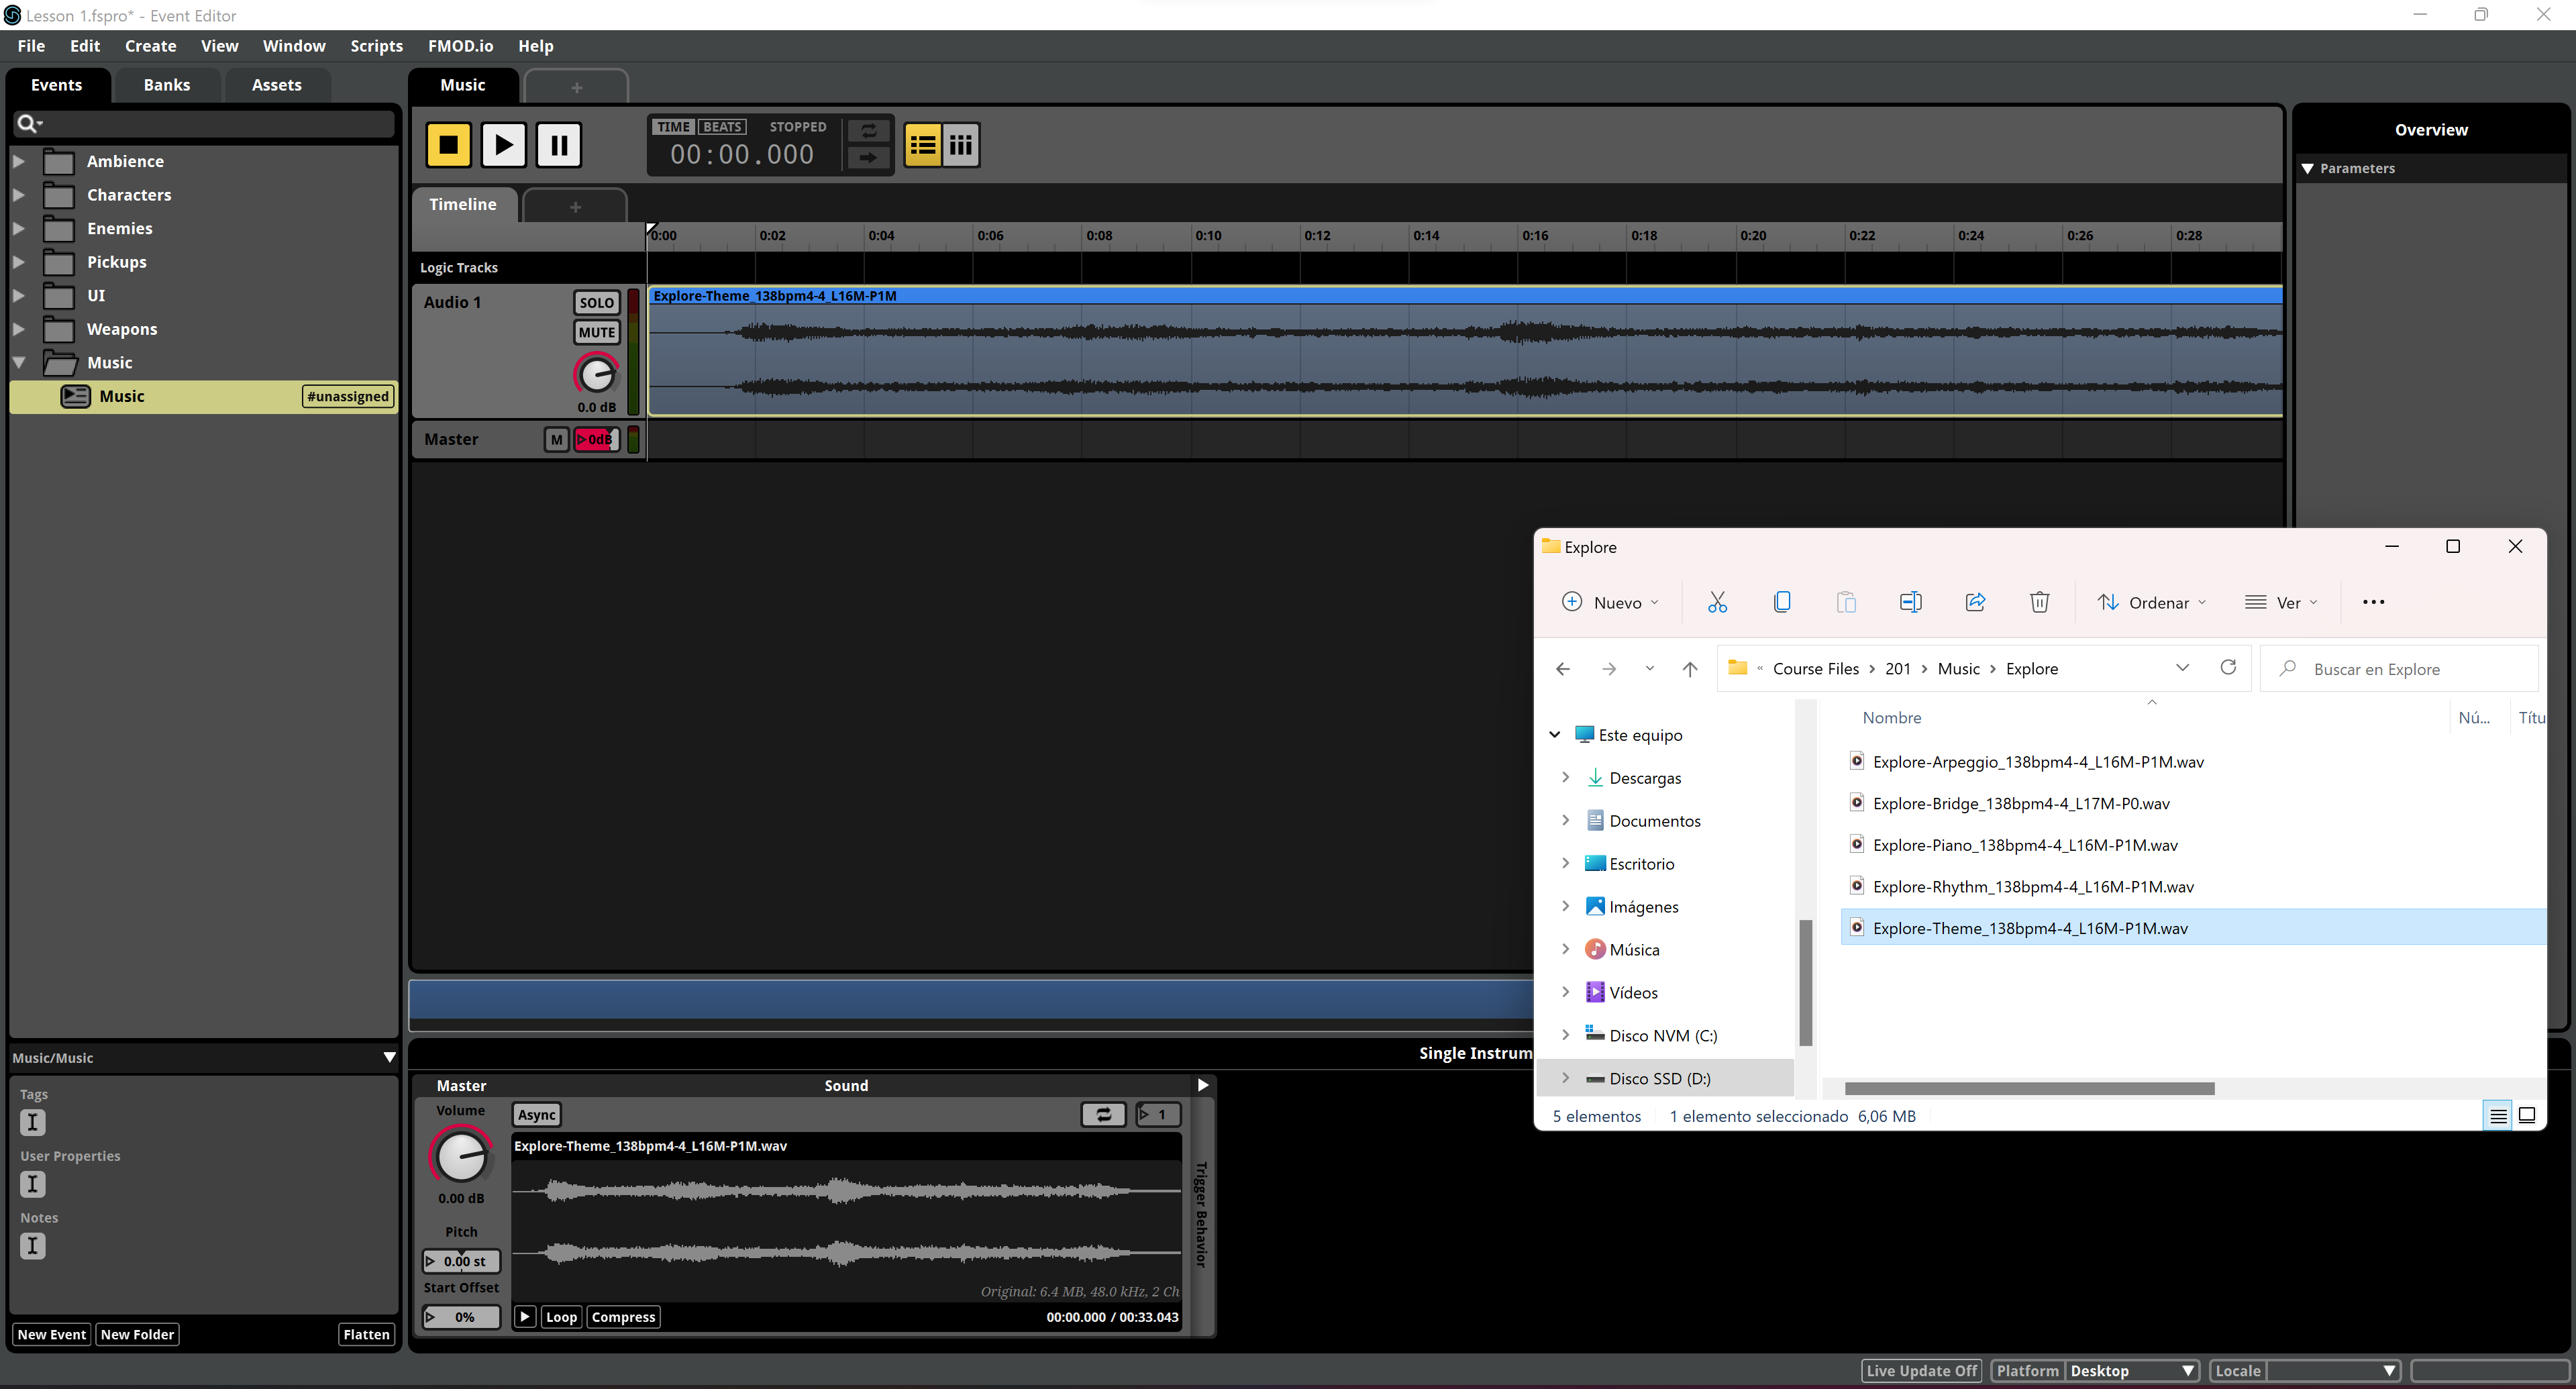
- From the tutorial's Music folder, add the Explore-Theme-138bpm4-4_L16M_P1M.wav file to the Audio Track.
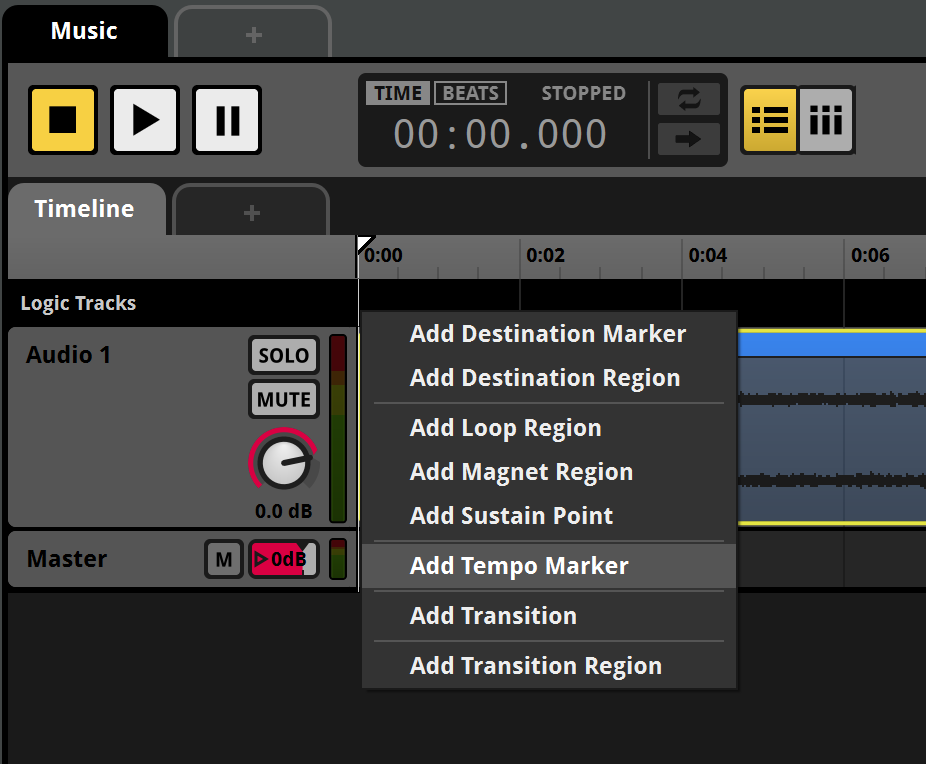
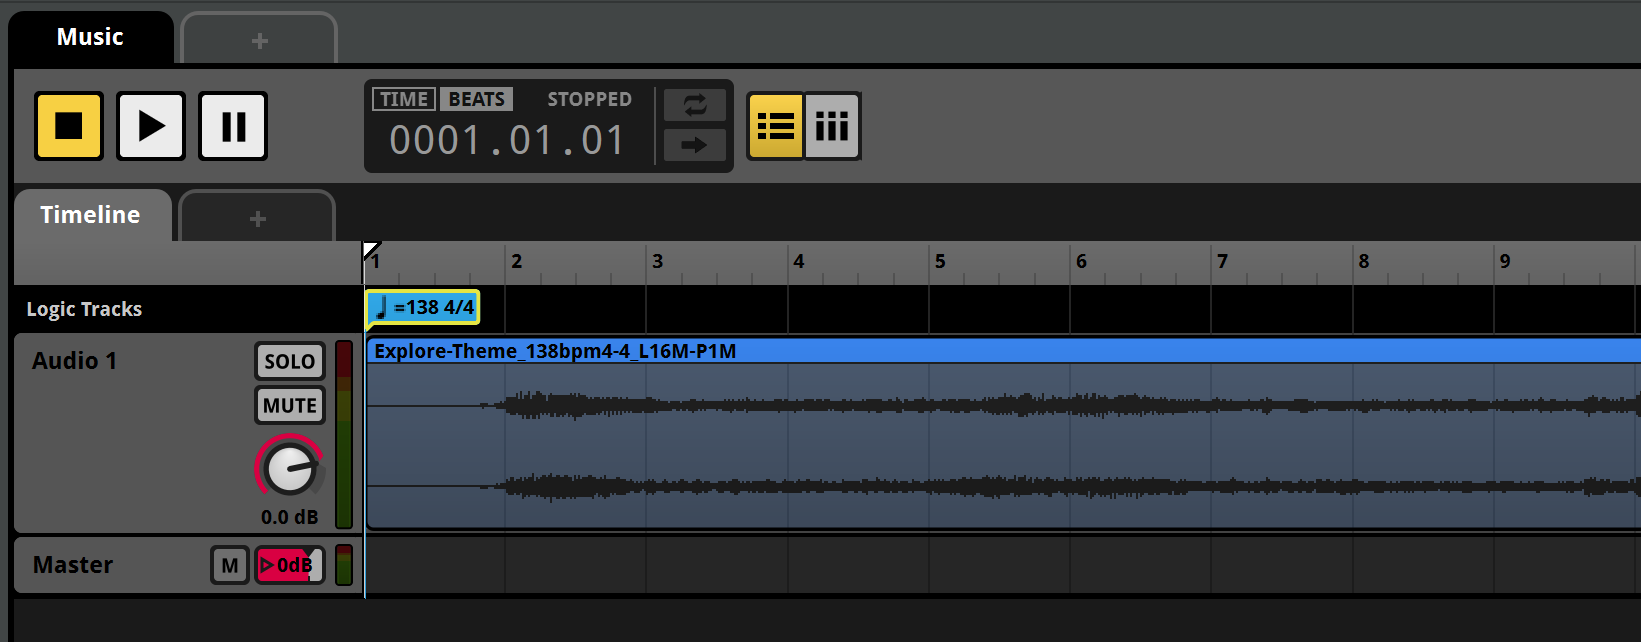
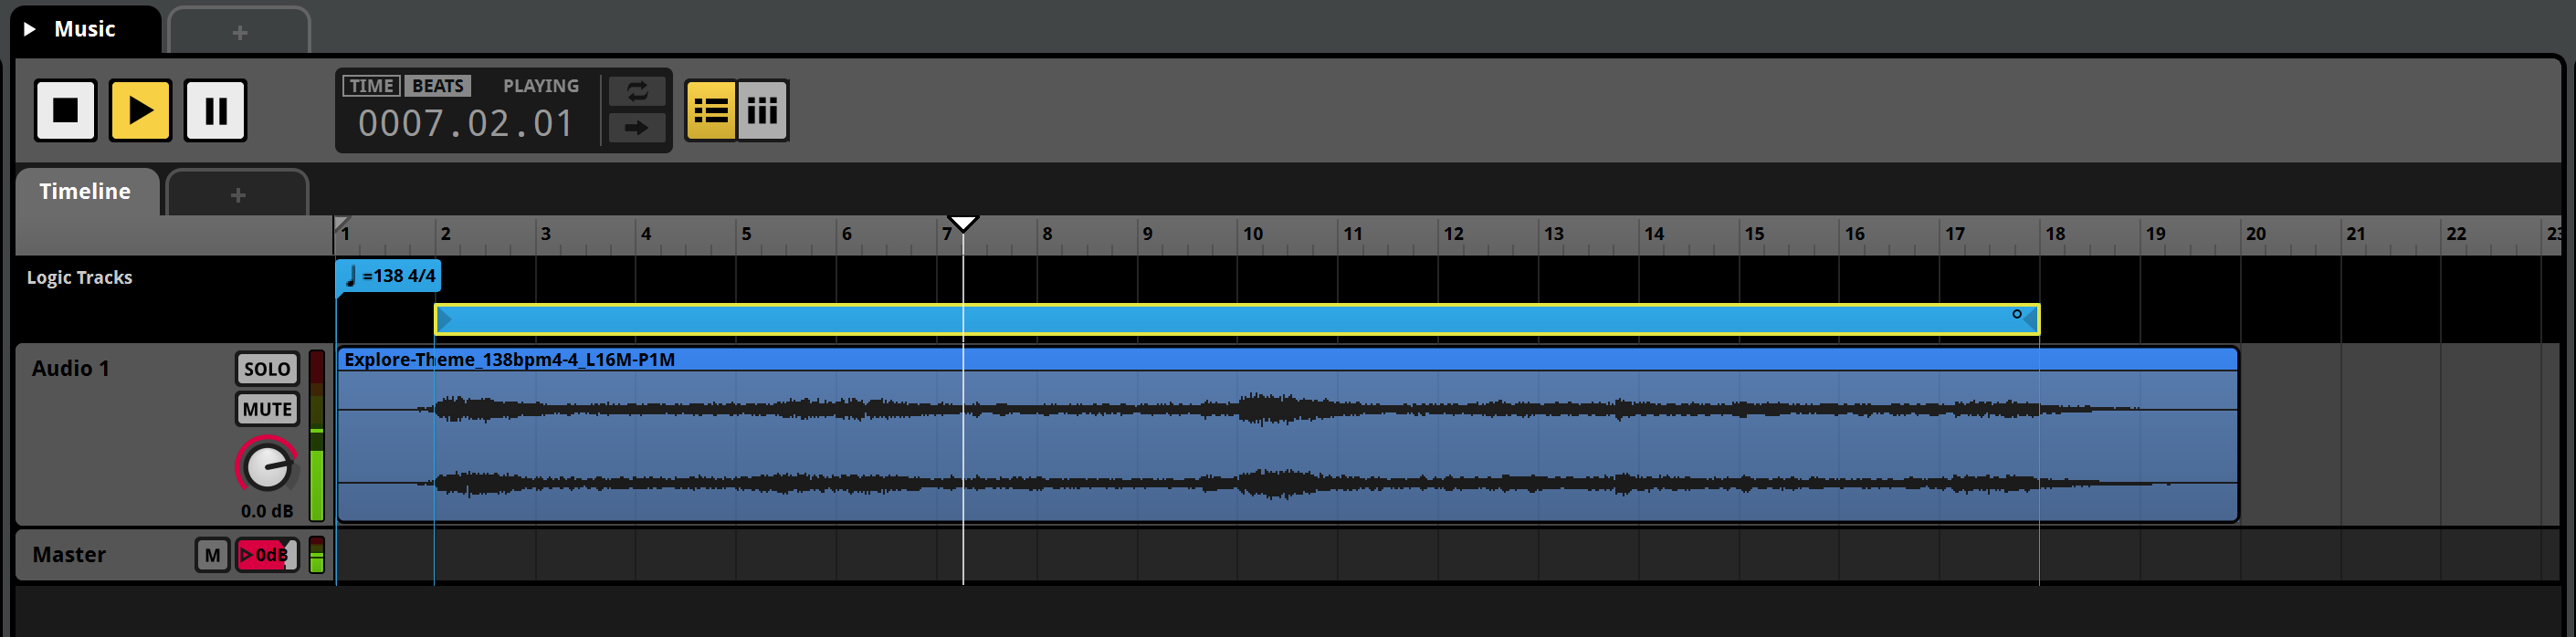
- Now we'll set a Tempo Marker so we can inform FMOD that this track is 4/4 138 BPM. As you can see, a naming convention has been used that specified the track tempo, the time signature, and the pre-entry and loop length (pre-entry: 1 measure, track length: 16 measures). Right click at the beginning of the Logic Tracks zone and choose Add Tempo Marker.
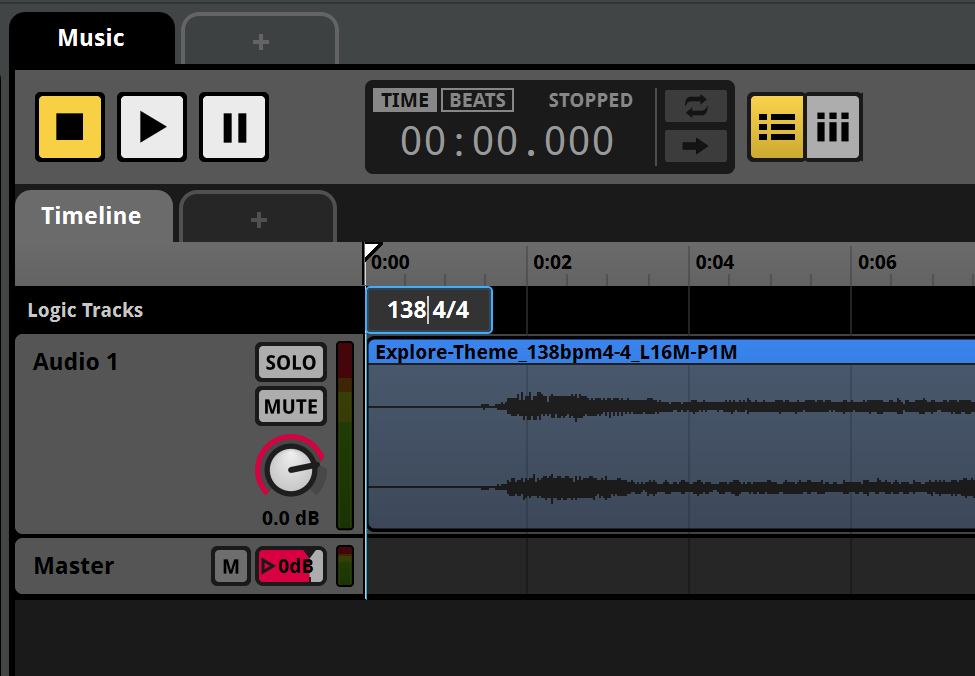
- Write down 138 in the tempo marker and leave the 4/4 signature there.
- To have a better view of the music, we can switch from Time in the time zone to Beats so we can have beat divsions instead of absolute time in seconds.
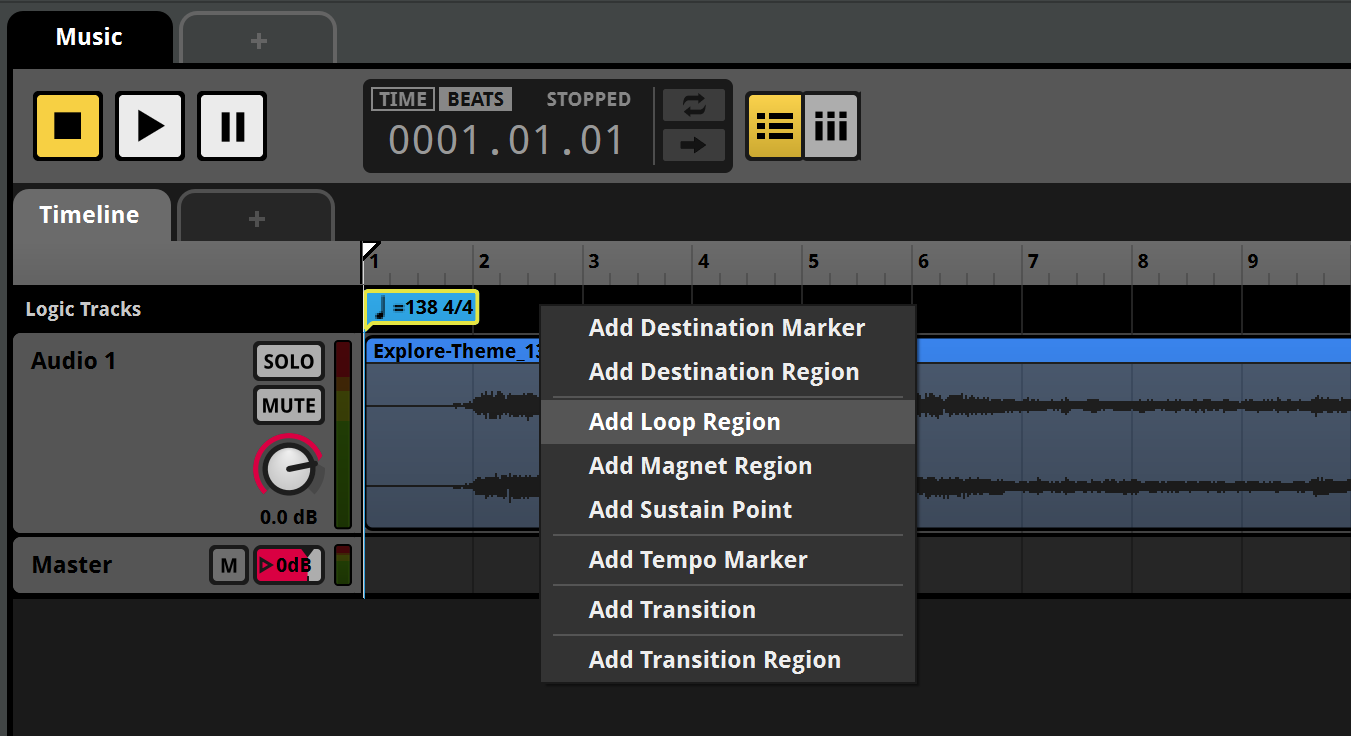
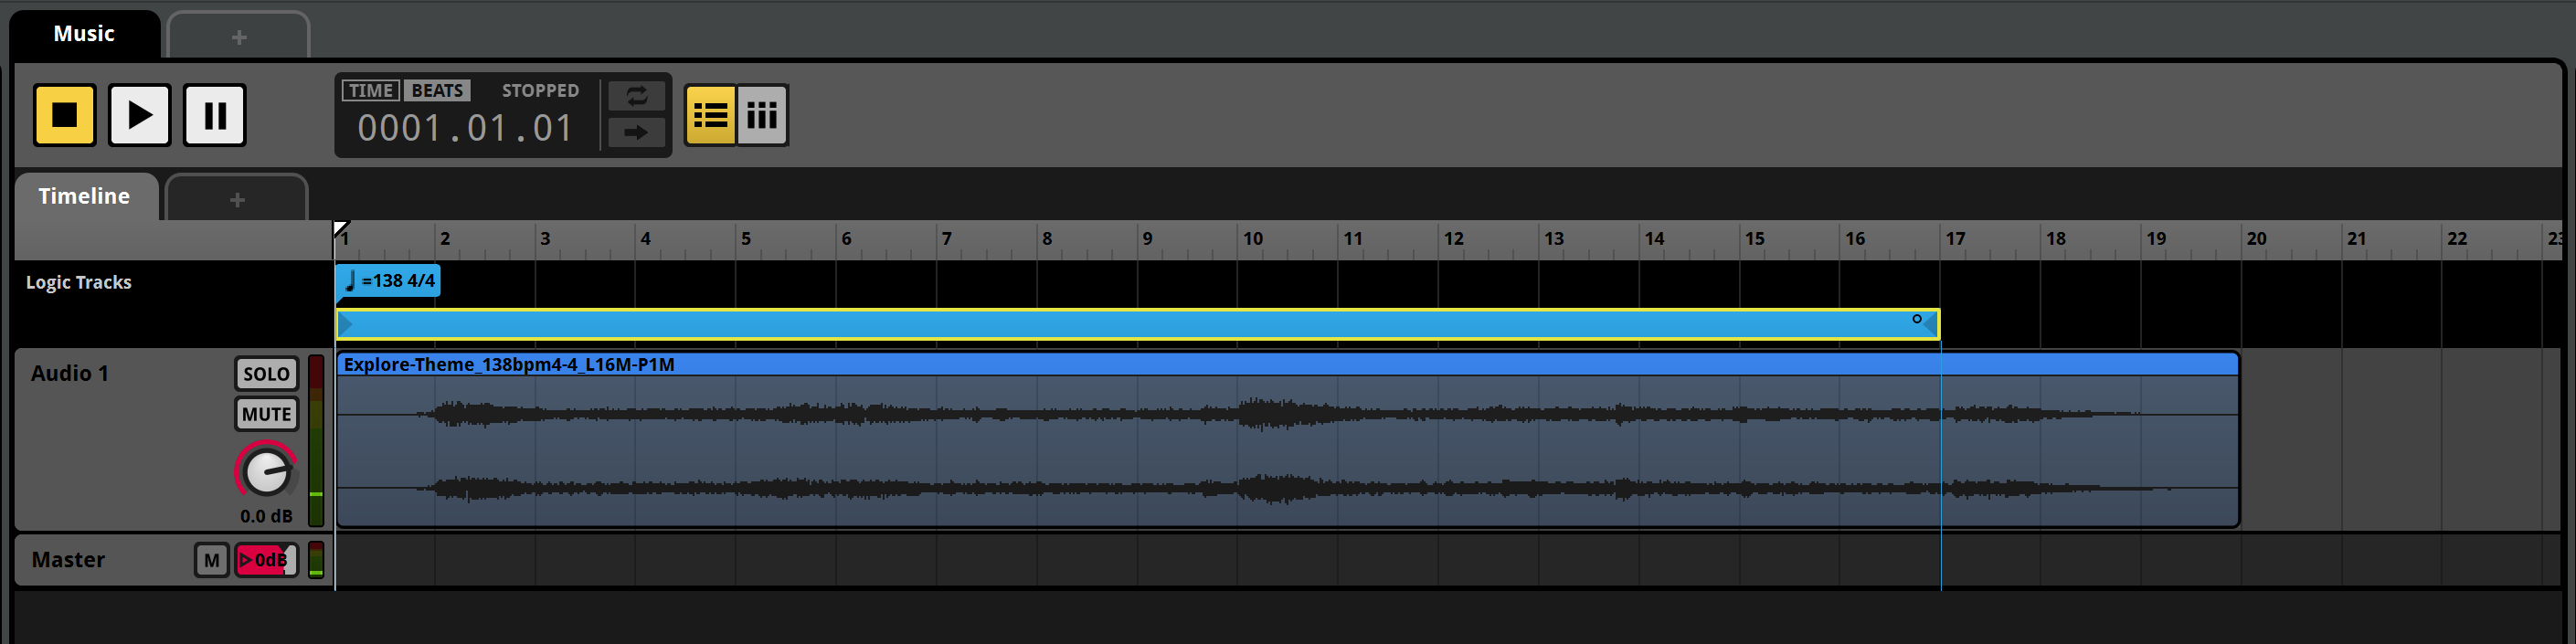
- Now, let's set the Loop Region for this track. Right-click on the Logic Tracks zone again and choose Add Loop Region.
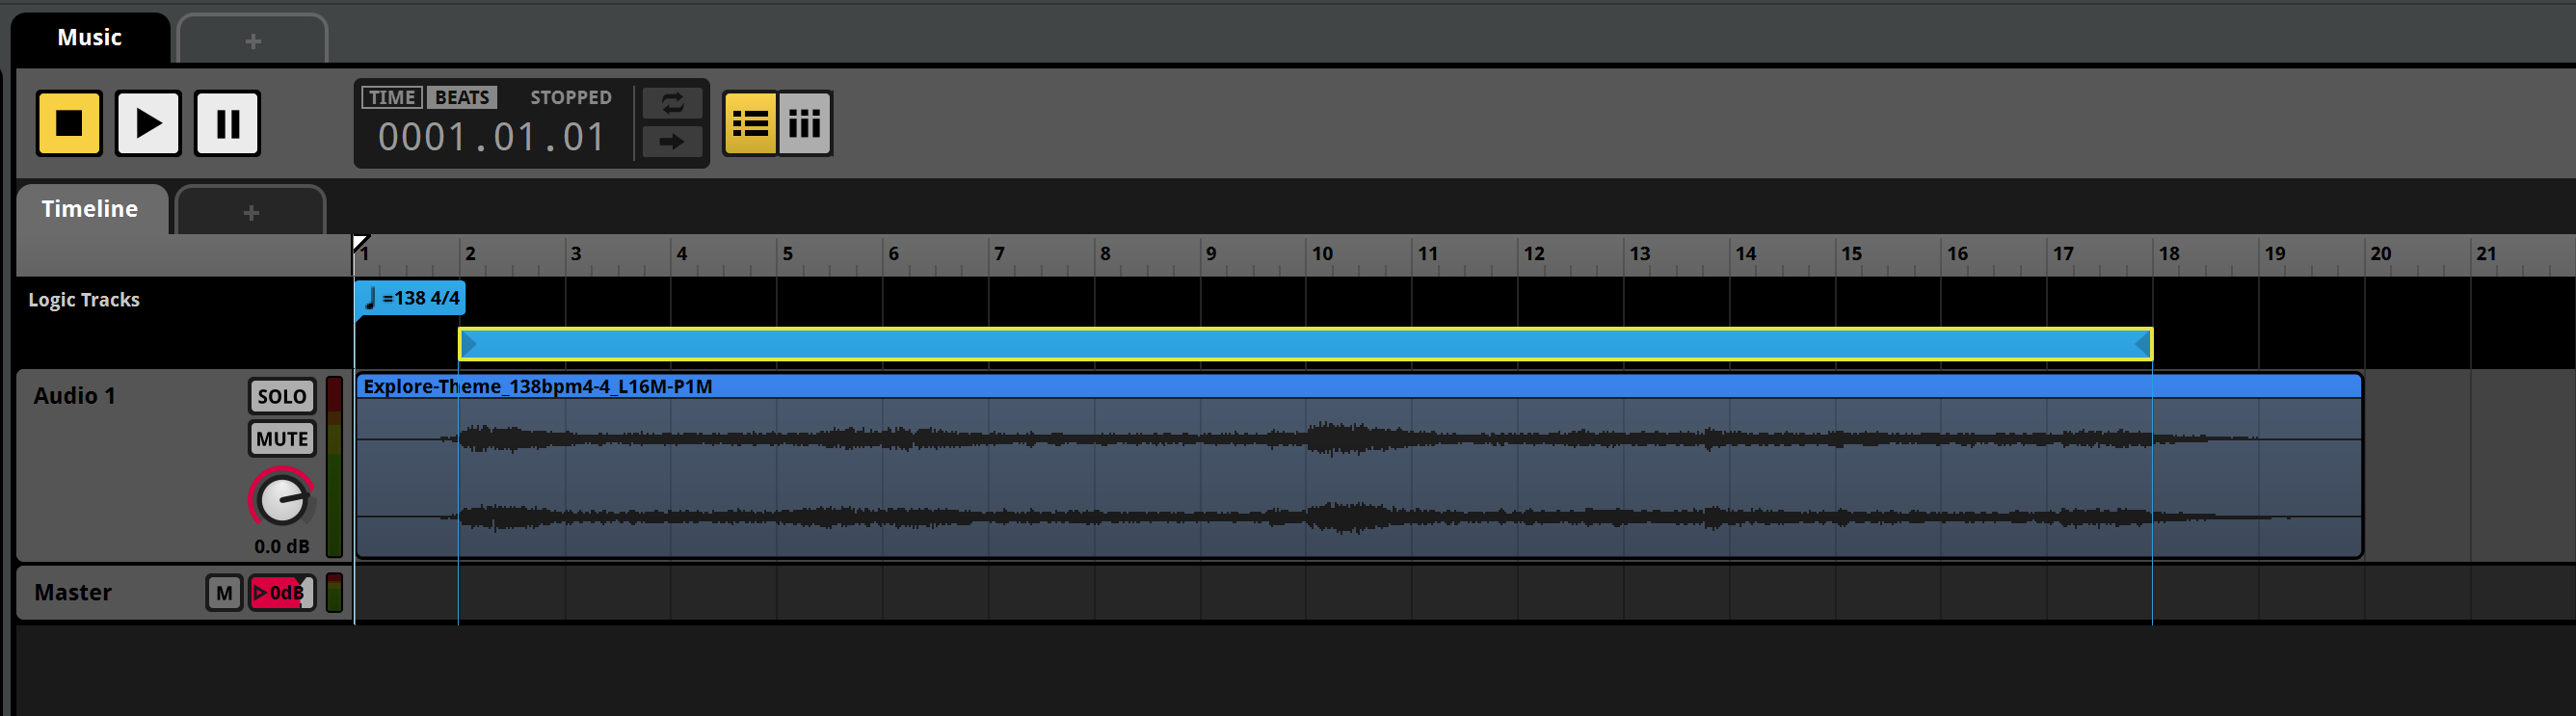
- Adjust the Loop Region so it starts at the 2nd measure (so we leave a 1 measure pre-entry at the beginning) and make it 16 measures long. Notice you can drag it down to make the Logic Tracks zone taller so we can see all the stuff there clearer. We we'll need that in the future when we make more complex things!
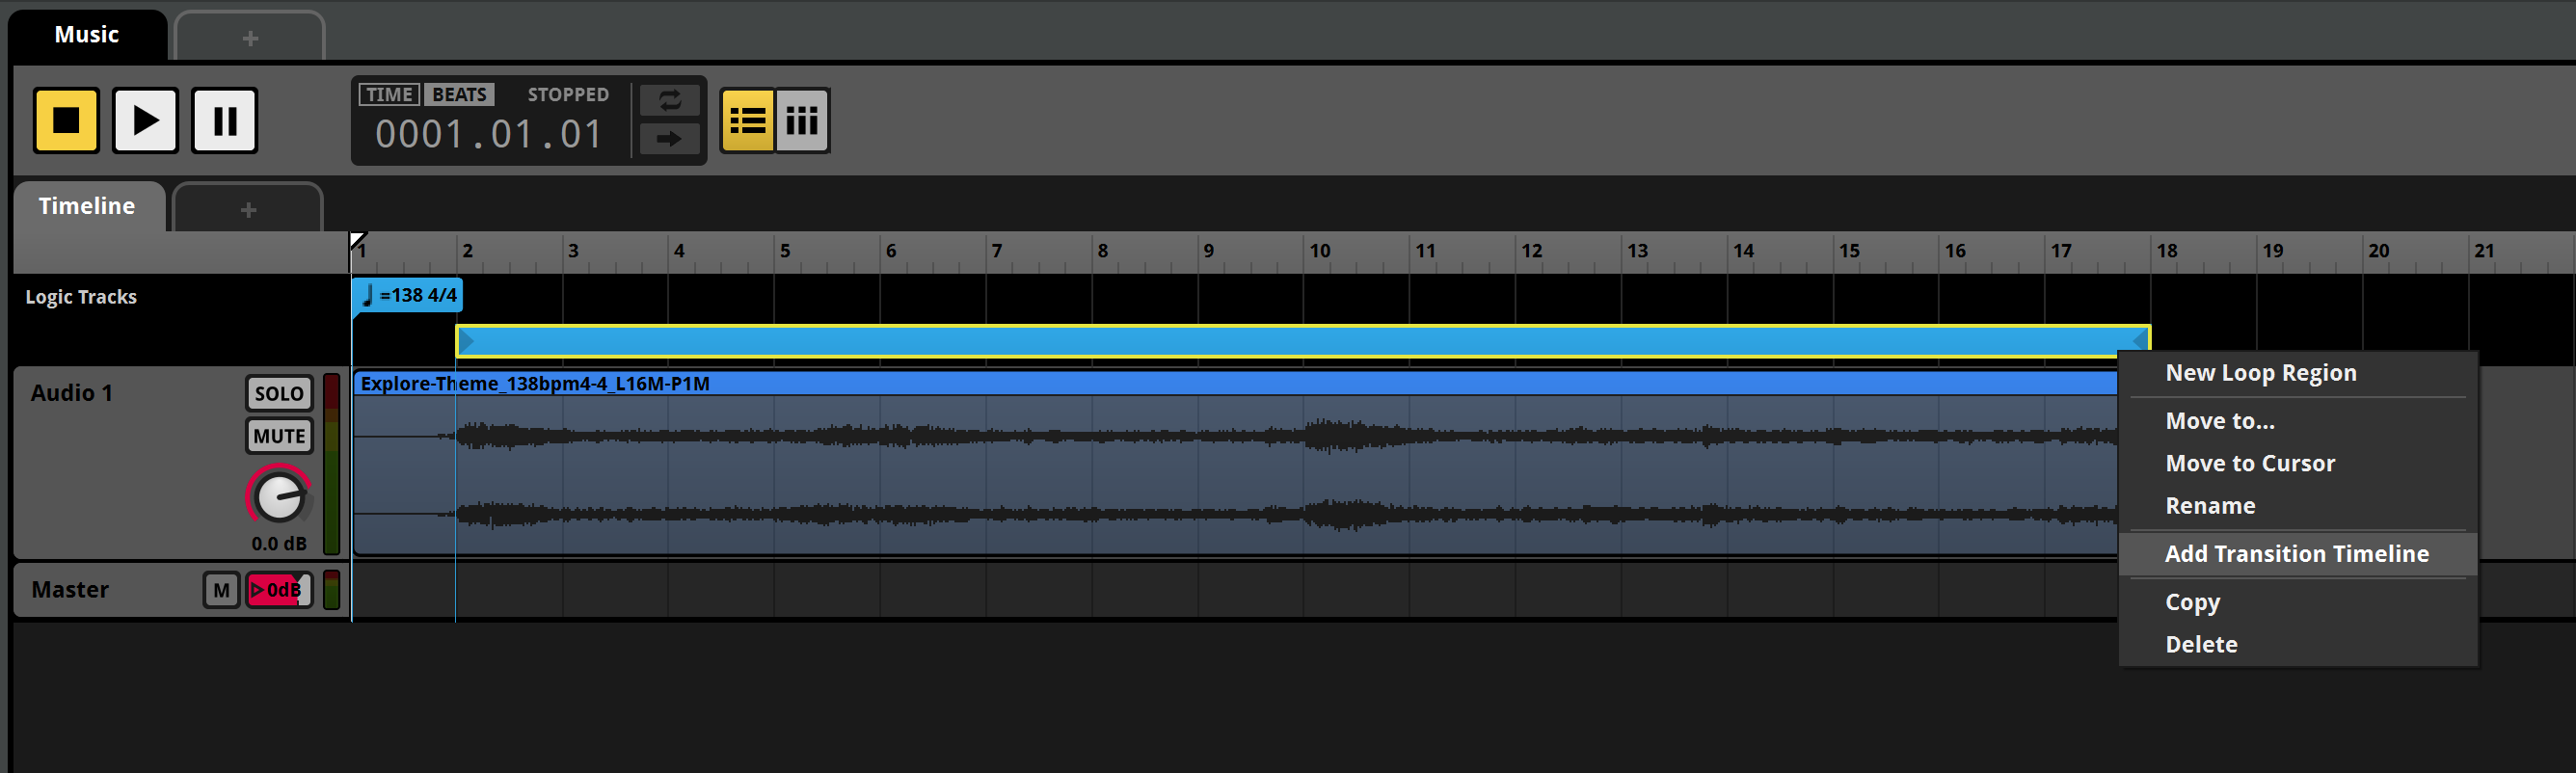
- If we play the loop now, it will loop between the start and end points but we'll be losing the pre-entry and post-exit phases, so the loop won't be really seamless. To allow the post-exit phase keep playing during the loop, we'll use a Transition Timeline. Right-click over the Loop Region and choose Add Transition Timeline
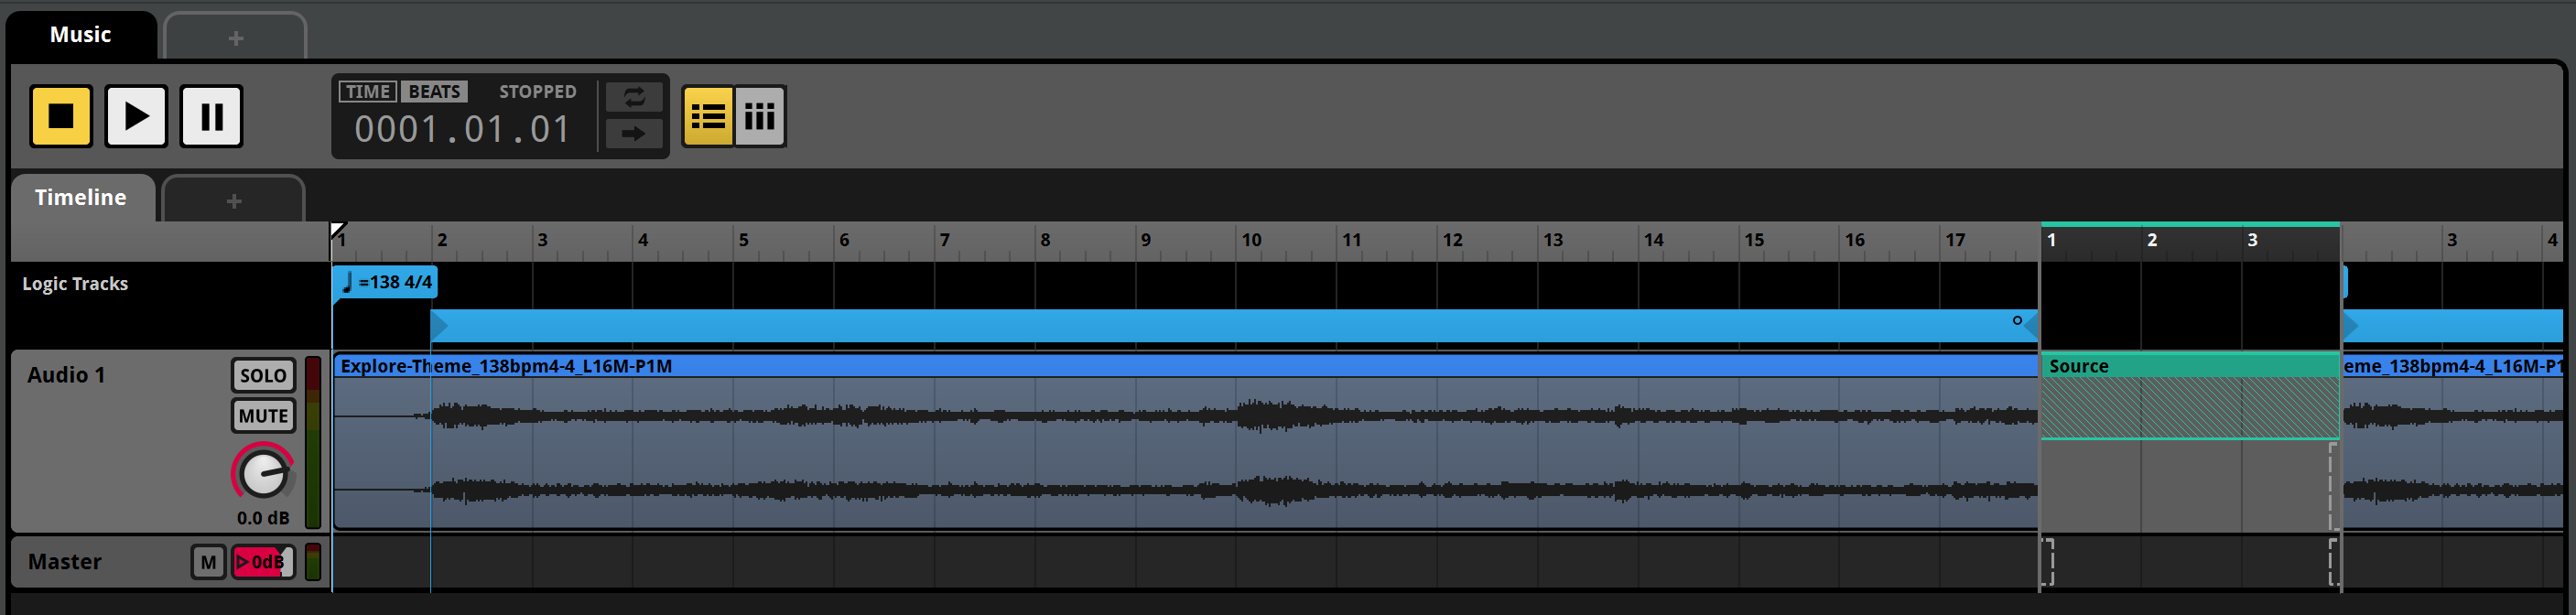
- The layout of the Time changes to display what's coming after the loop end point and will display a 1 measure empty zone between that and the beginning of the loop. We can drag the right side of the Timeline (over the numbers ruler) to make it longer or shorter. As we have at least 2 measures of post-exit, however we'll need an additional measure to include the pre-entry part into the loop region, so we'll make room for 3 measures.

- In the track you can see 2 dashed line rectangles on the left and the right side. They represent the old track that ends and the new track that comes next. You can drag them to adjust how they overlap during the transition. First we'll drag the right side of the left rectangle to the right to fill the 3 measures. This will allow the track to keep playing the post-exit phase after the loop but the next track will come after the Transition Timeline and we want them to overlap instead.
- To achieve that, drag the left side of the right rectangle to the left to fill the 3 measures. Now the track overlap, however FMOD always add a crossfade between two audio clips on the same track when they overlap. We'll have to remove them manually.
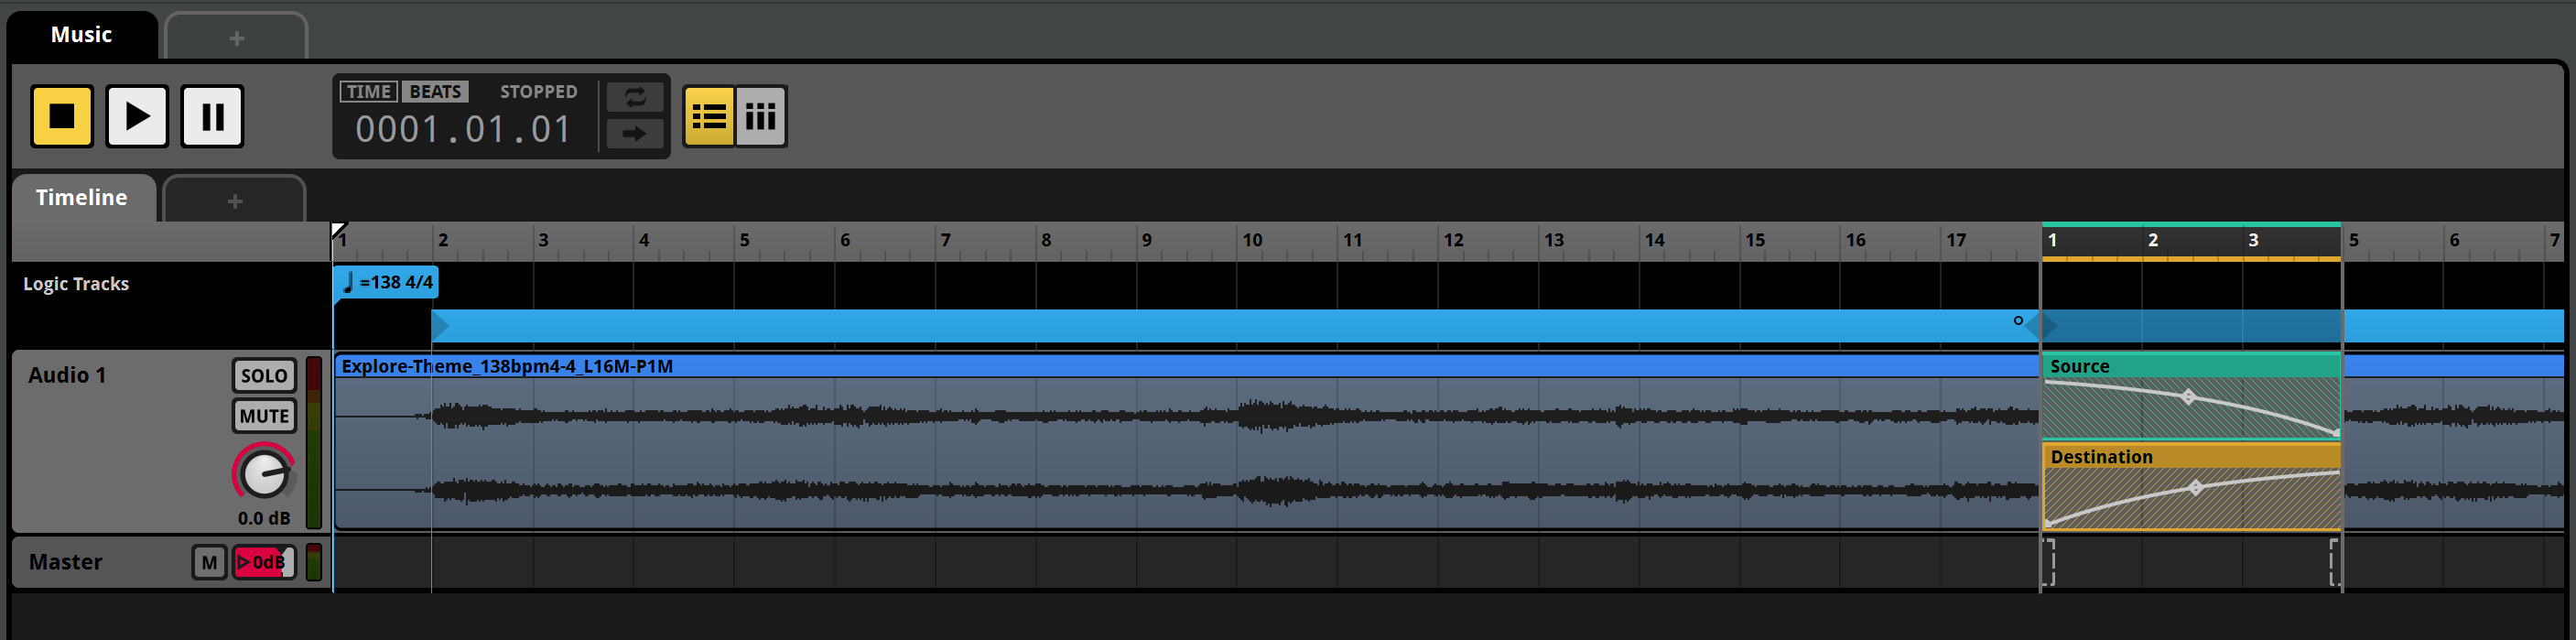
- Drag the top points of the curves (left top of the Source and right top of the destination) and move them to the other side to disable the fades that have been automatically added. Now the two track will overlap as we wanted.
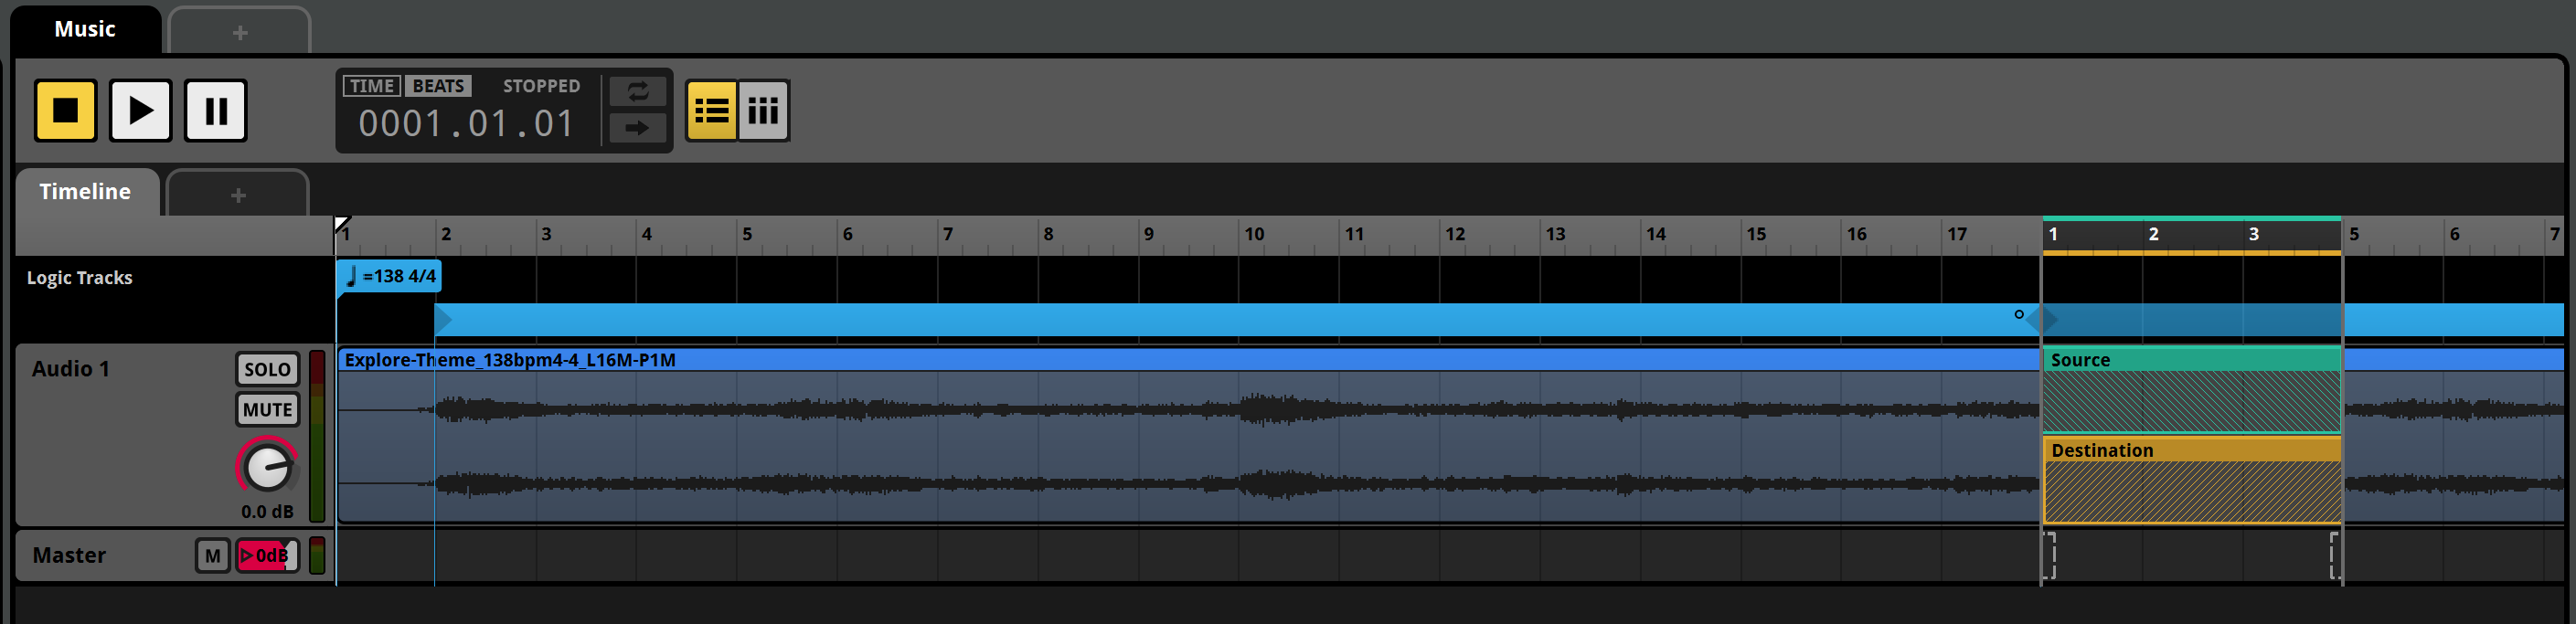
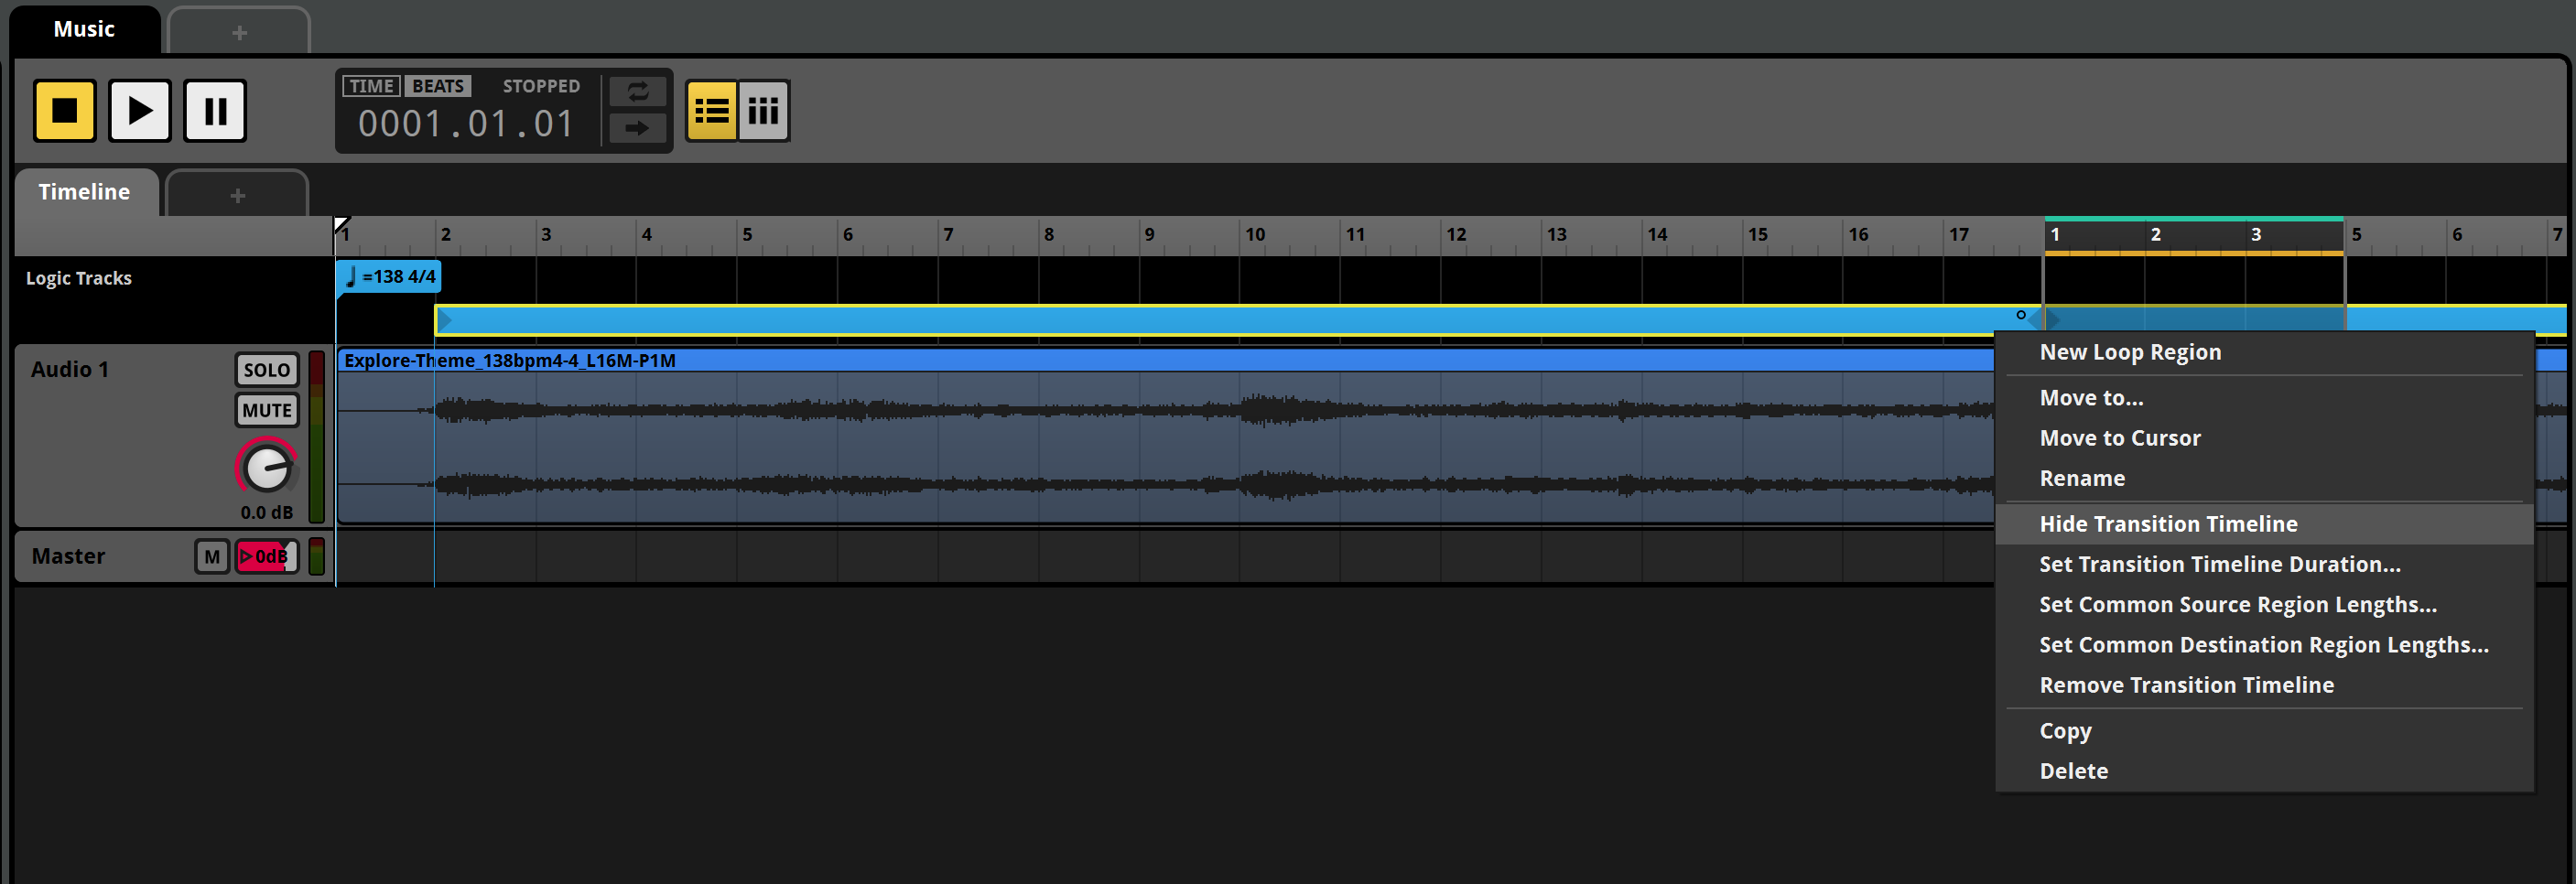
- You can now hide the Transition Timeline right clicking over the Loop Region and choosing Hide Transition Timeline. Notice that a circle on the right of the Loop Region appears, which is a hint that there's a Transition Timeline at the end of the track. From now on, you can quickly show and hide the transition timelines by double-clicking the Loop Region.
- Now you can play the music. The post-exit phase will overlap but the pre-entry phase won't. We're not done here yet!
- Drag the Loop Region to the left extreme. The pre-entry phase is now included in the loop. Listen to it and check that the loop is perfect. Good job!
Remember: If you want to test the new sound in the game, assign it to the Master bank as done in Lesson 1, step 9 and follow the next steps on Lesson 1 to setup the Banks folder and rebuild the Master Bank.