Last update: 2025-08-03
101: Sound Design
Lesson 5: Mixing
Adjusting the mix is important in order to achieve a proper balance between all sounds and also to introduce real-time effects. Like many other sound engines, in FMOD you can create a custom mixing hierarchy so we can control all that. Let's see how we can define the appropriate reverb for the game. Aside from the observatory zone at the beginning of the level, there are other few small rooms underneath and a small corridor to an open zone that require some appropriate reverb.
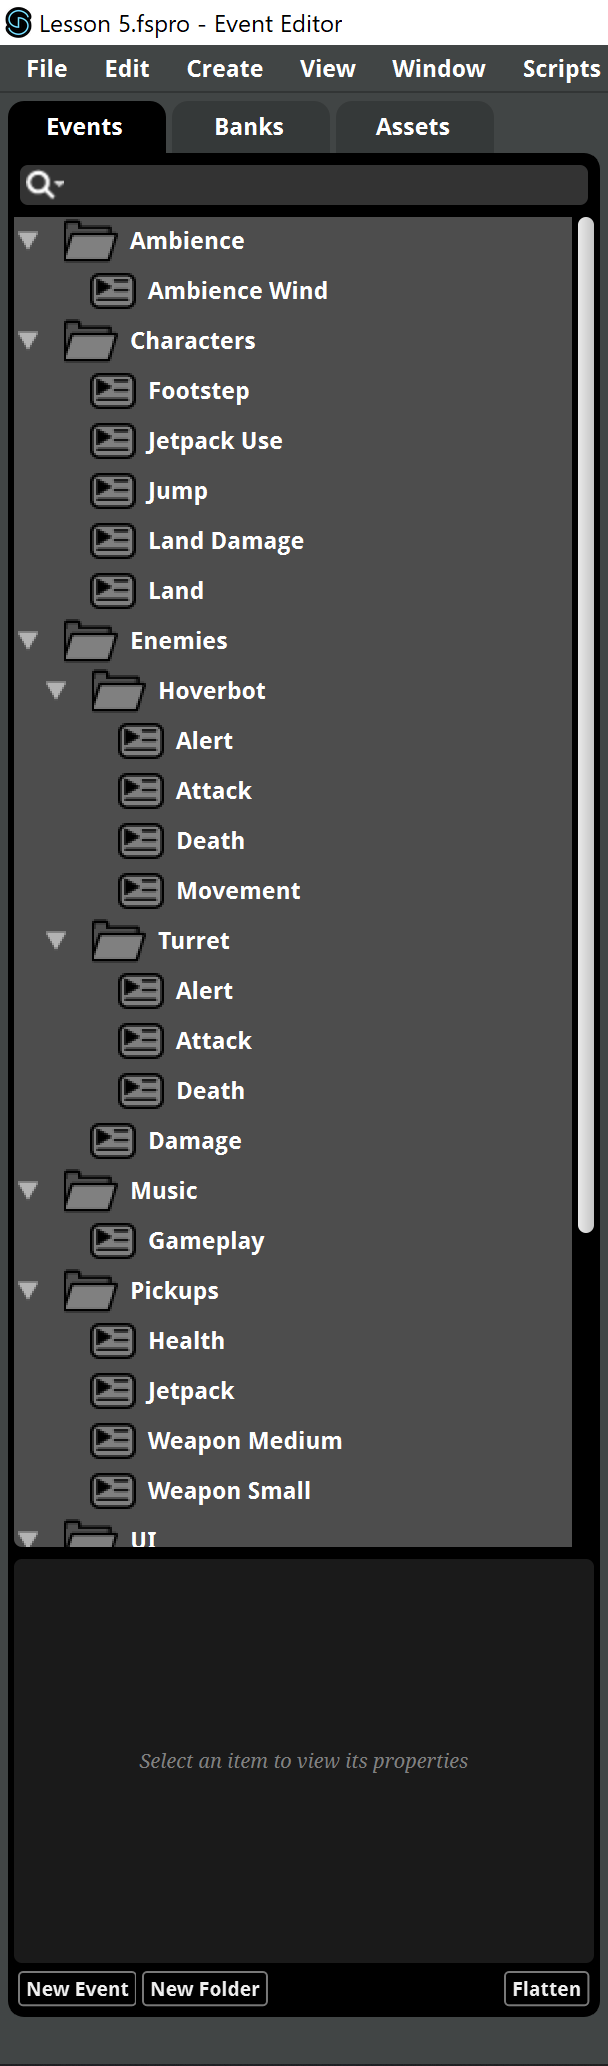
- Open the Lesson 5 FMOD project. You'll see all the SFX are already in now.
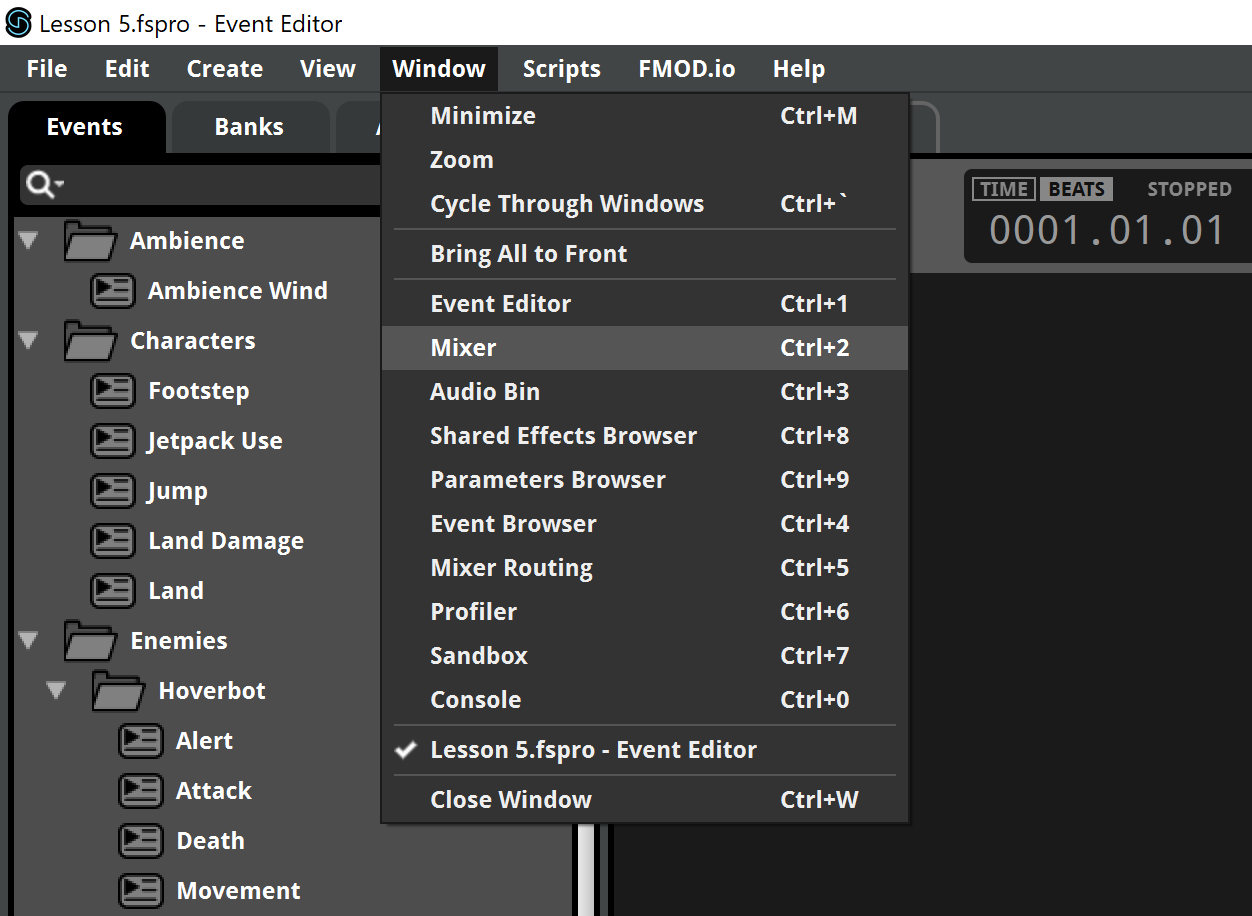
- To open the Mixer window, select Window > Mixer in the main menu.
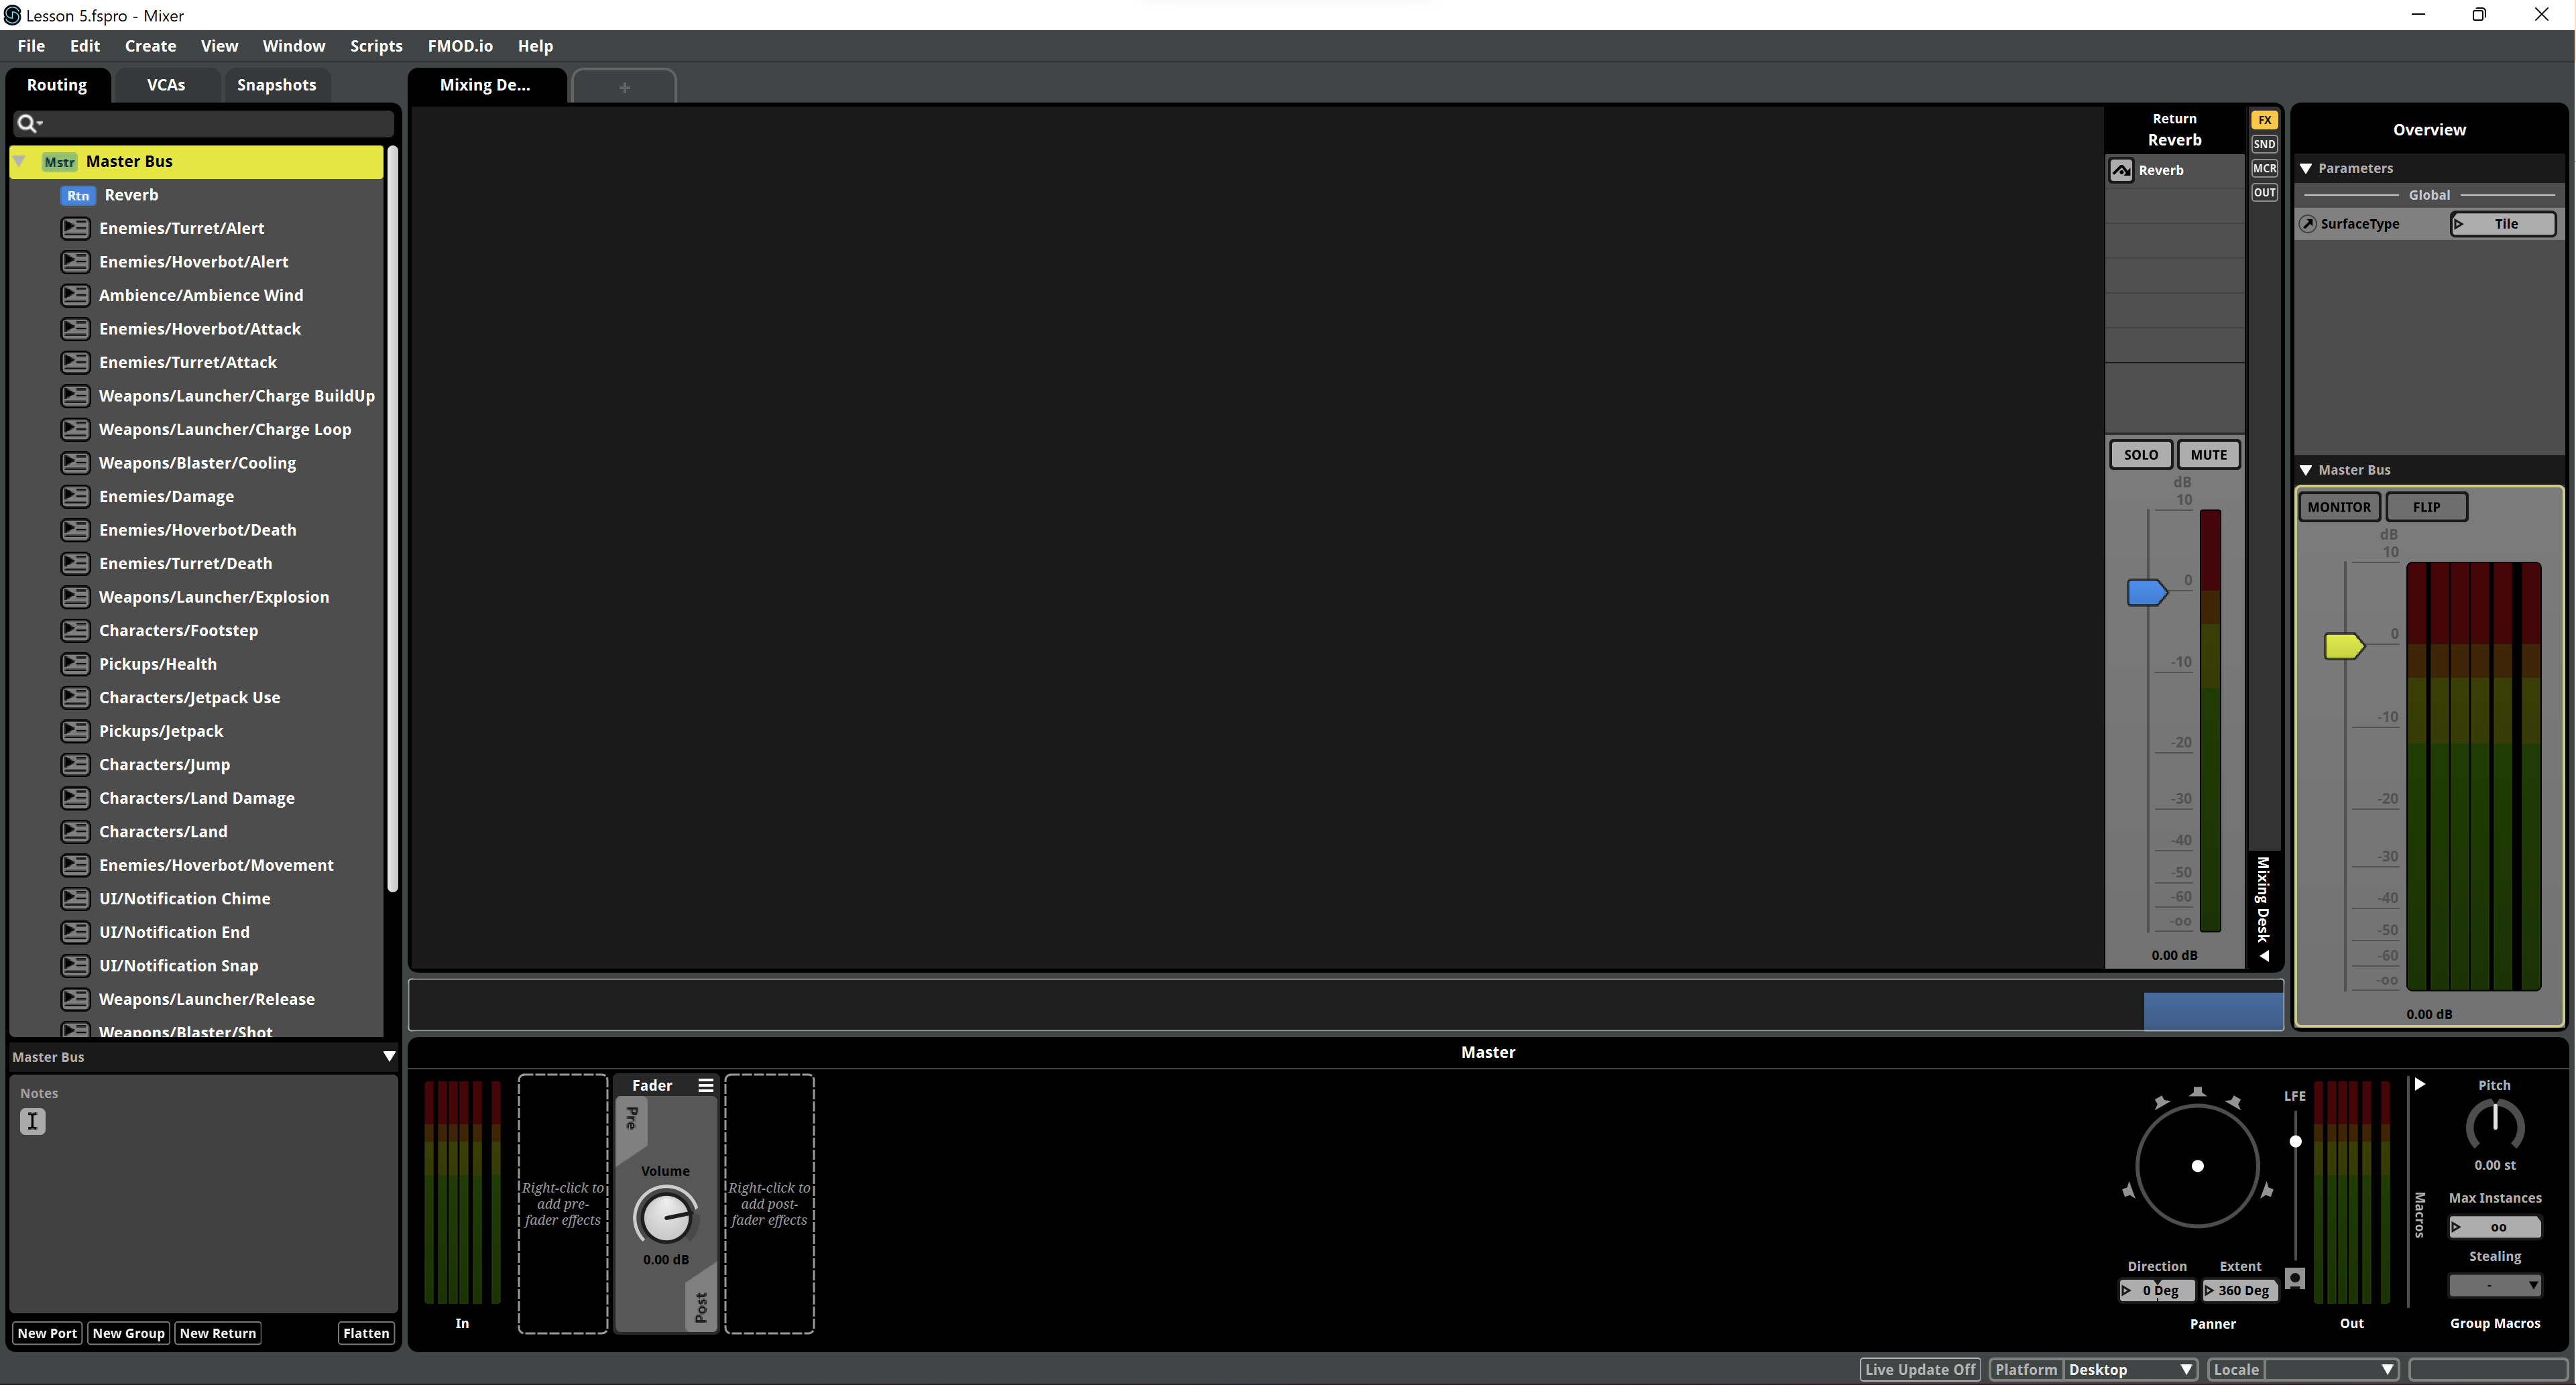
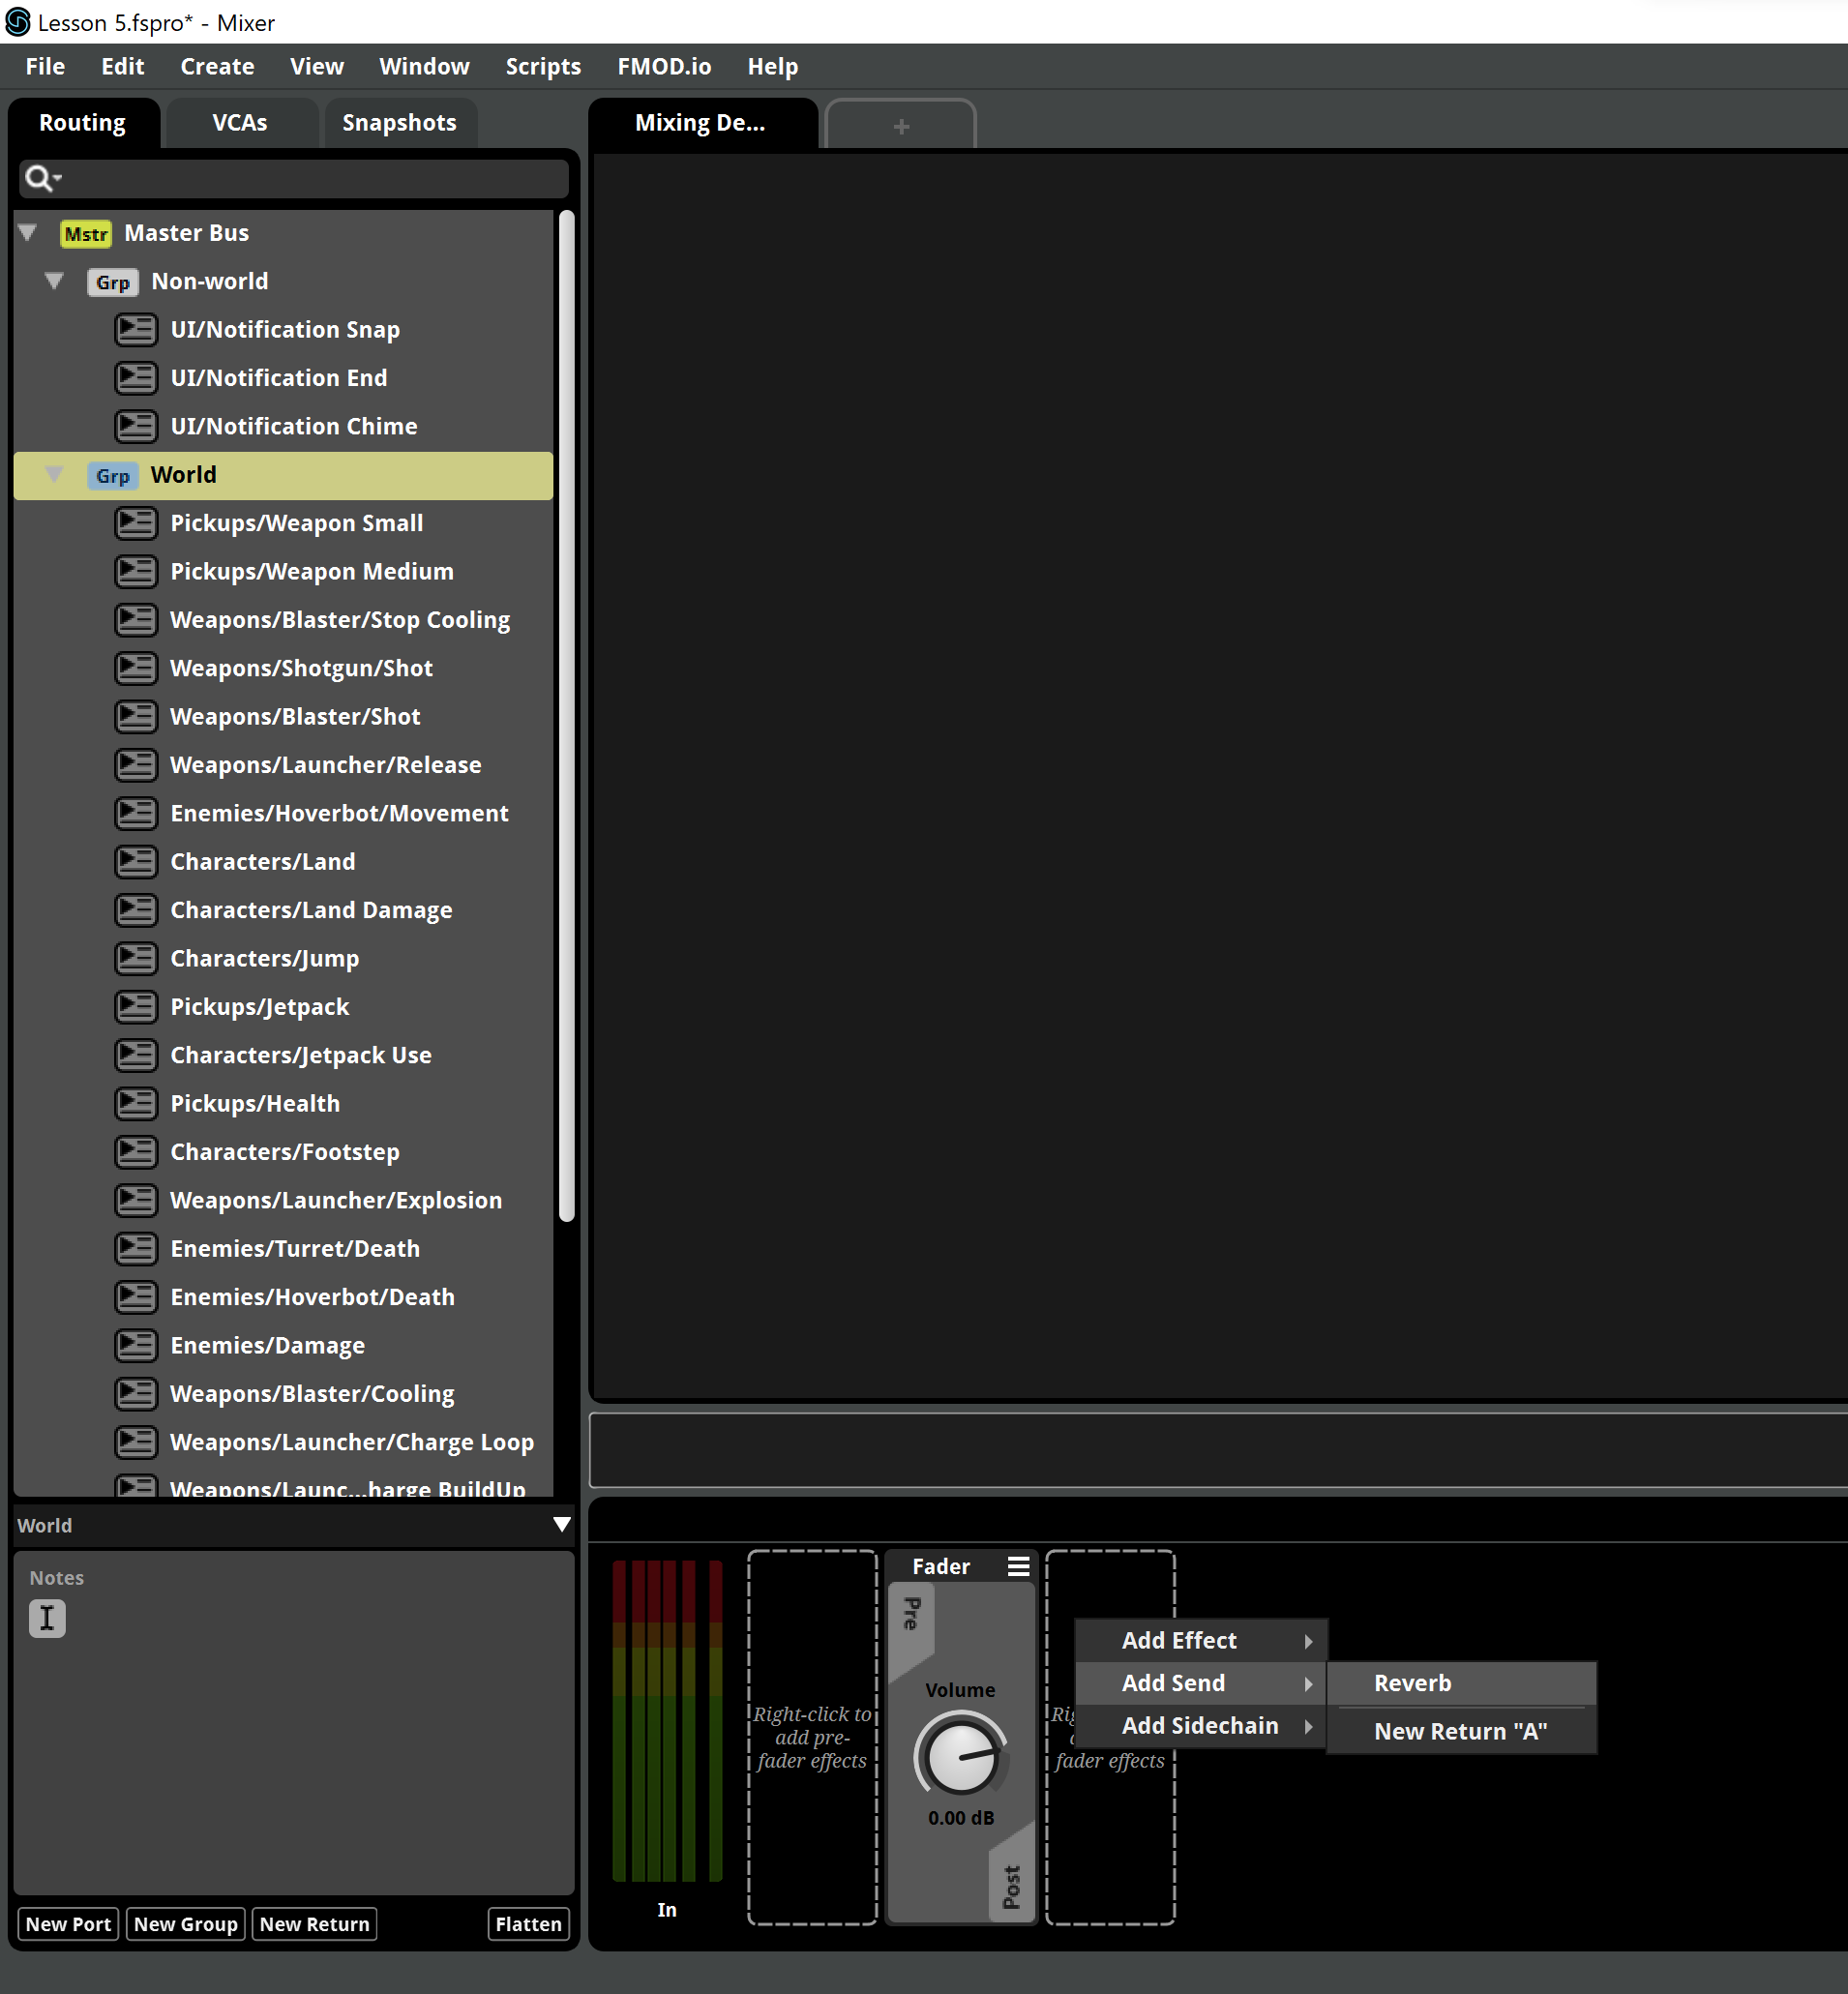
- In the mixer you'll see that currently all sounds are assigned to the Master Bus and there's a Reverb return. Let's remove it, we'll create our own reverb return, so remove it by clicking it and pressing the Delete key (you can use the right-click menu too).
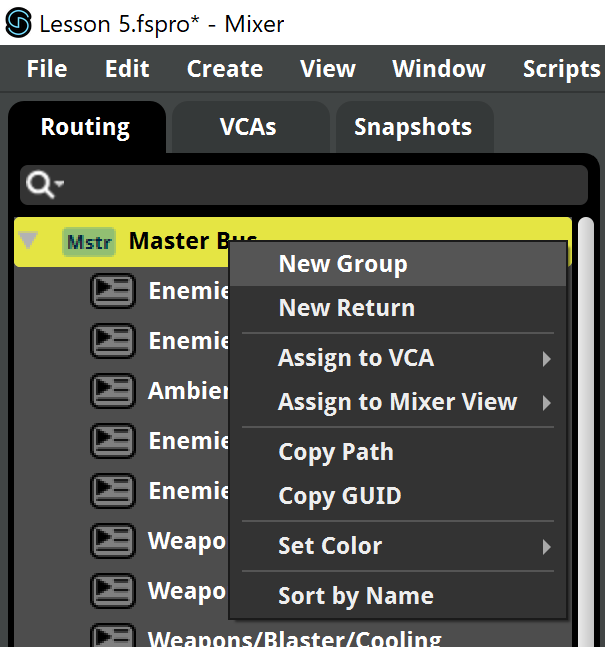
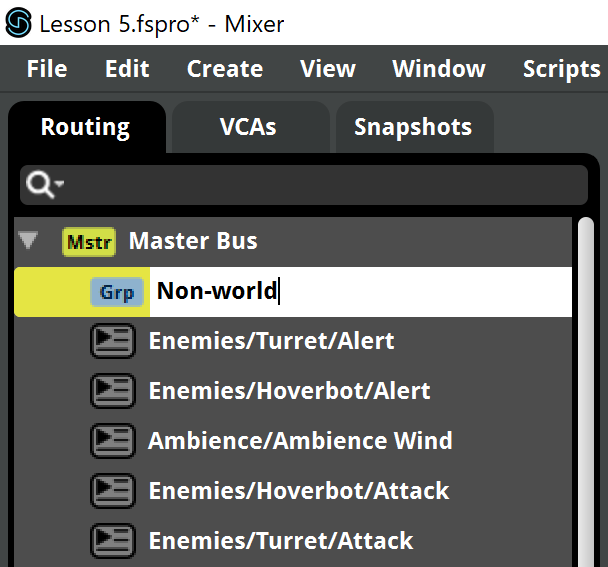
- Now we'll create a couple of groups. Right-click the Master Bus and choose New Group.
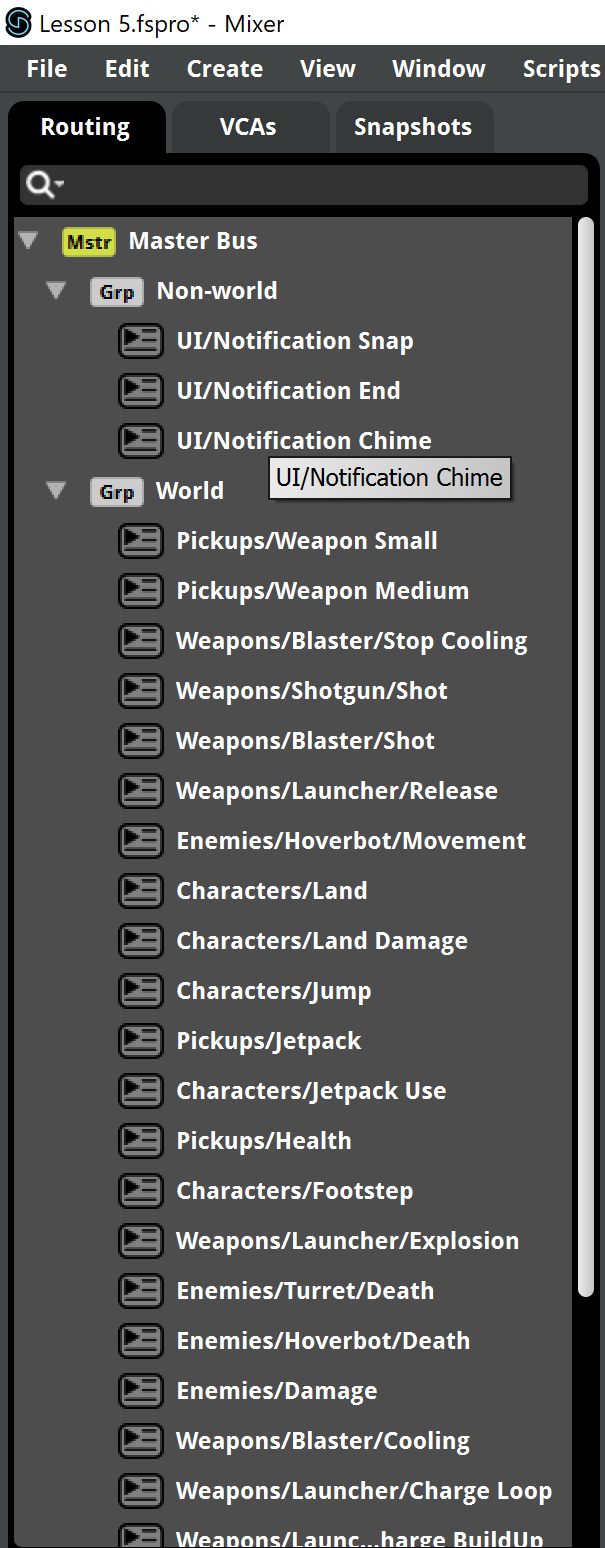
- We'll call this one Now world. We'll use it for UI sounds, which shouldn't be affected by reverb, as they don't belong to the game's world (we'd say they're non-diegetic).
- Create another group for the World and drag all the reamining events to this group. You'll see a new slider for each group on the right side of the interface.
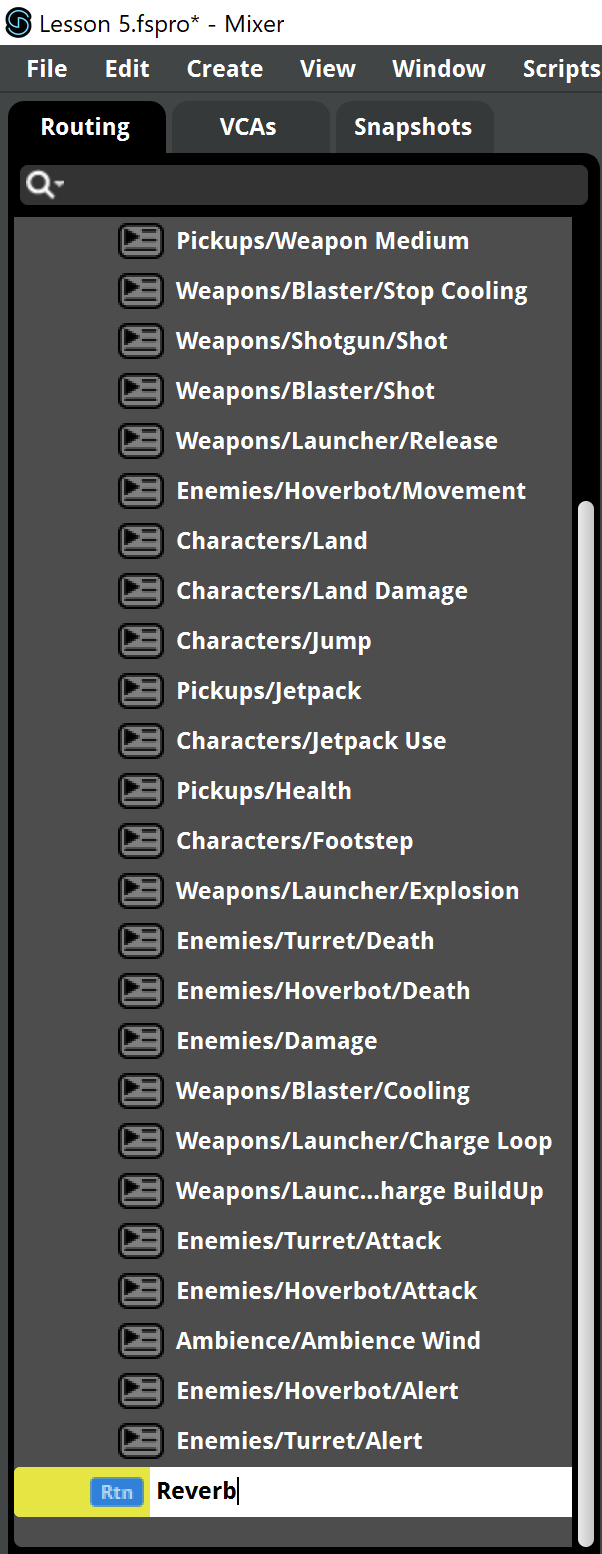
- One common way to apply effects like reverb is creating a Return. Right-click the Master Bus and choose New Return.
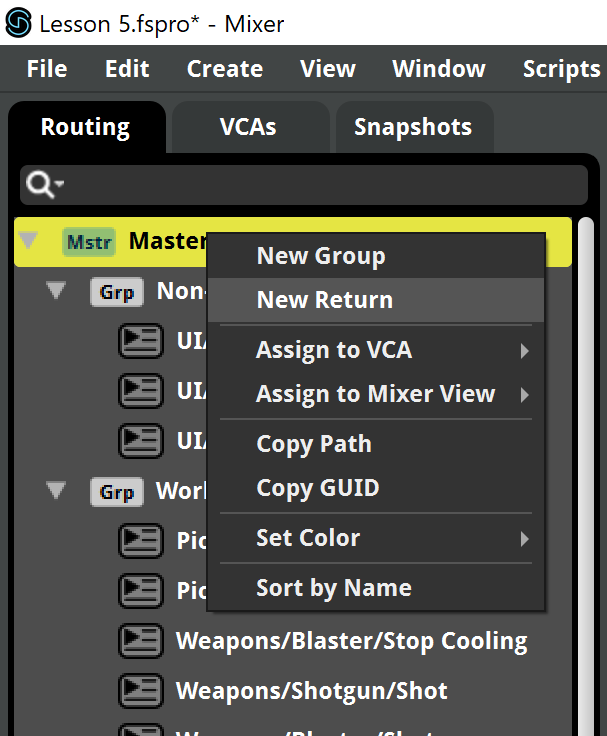
- Let's call it Reverb.
- Now we'll create a Send from the World bus. This can be done in the effects zone by right-clicking and choosing Add Send > Reverb.
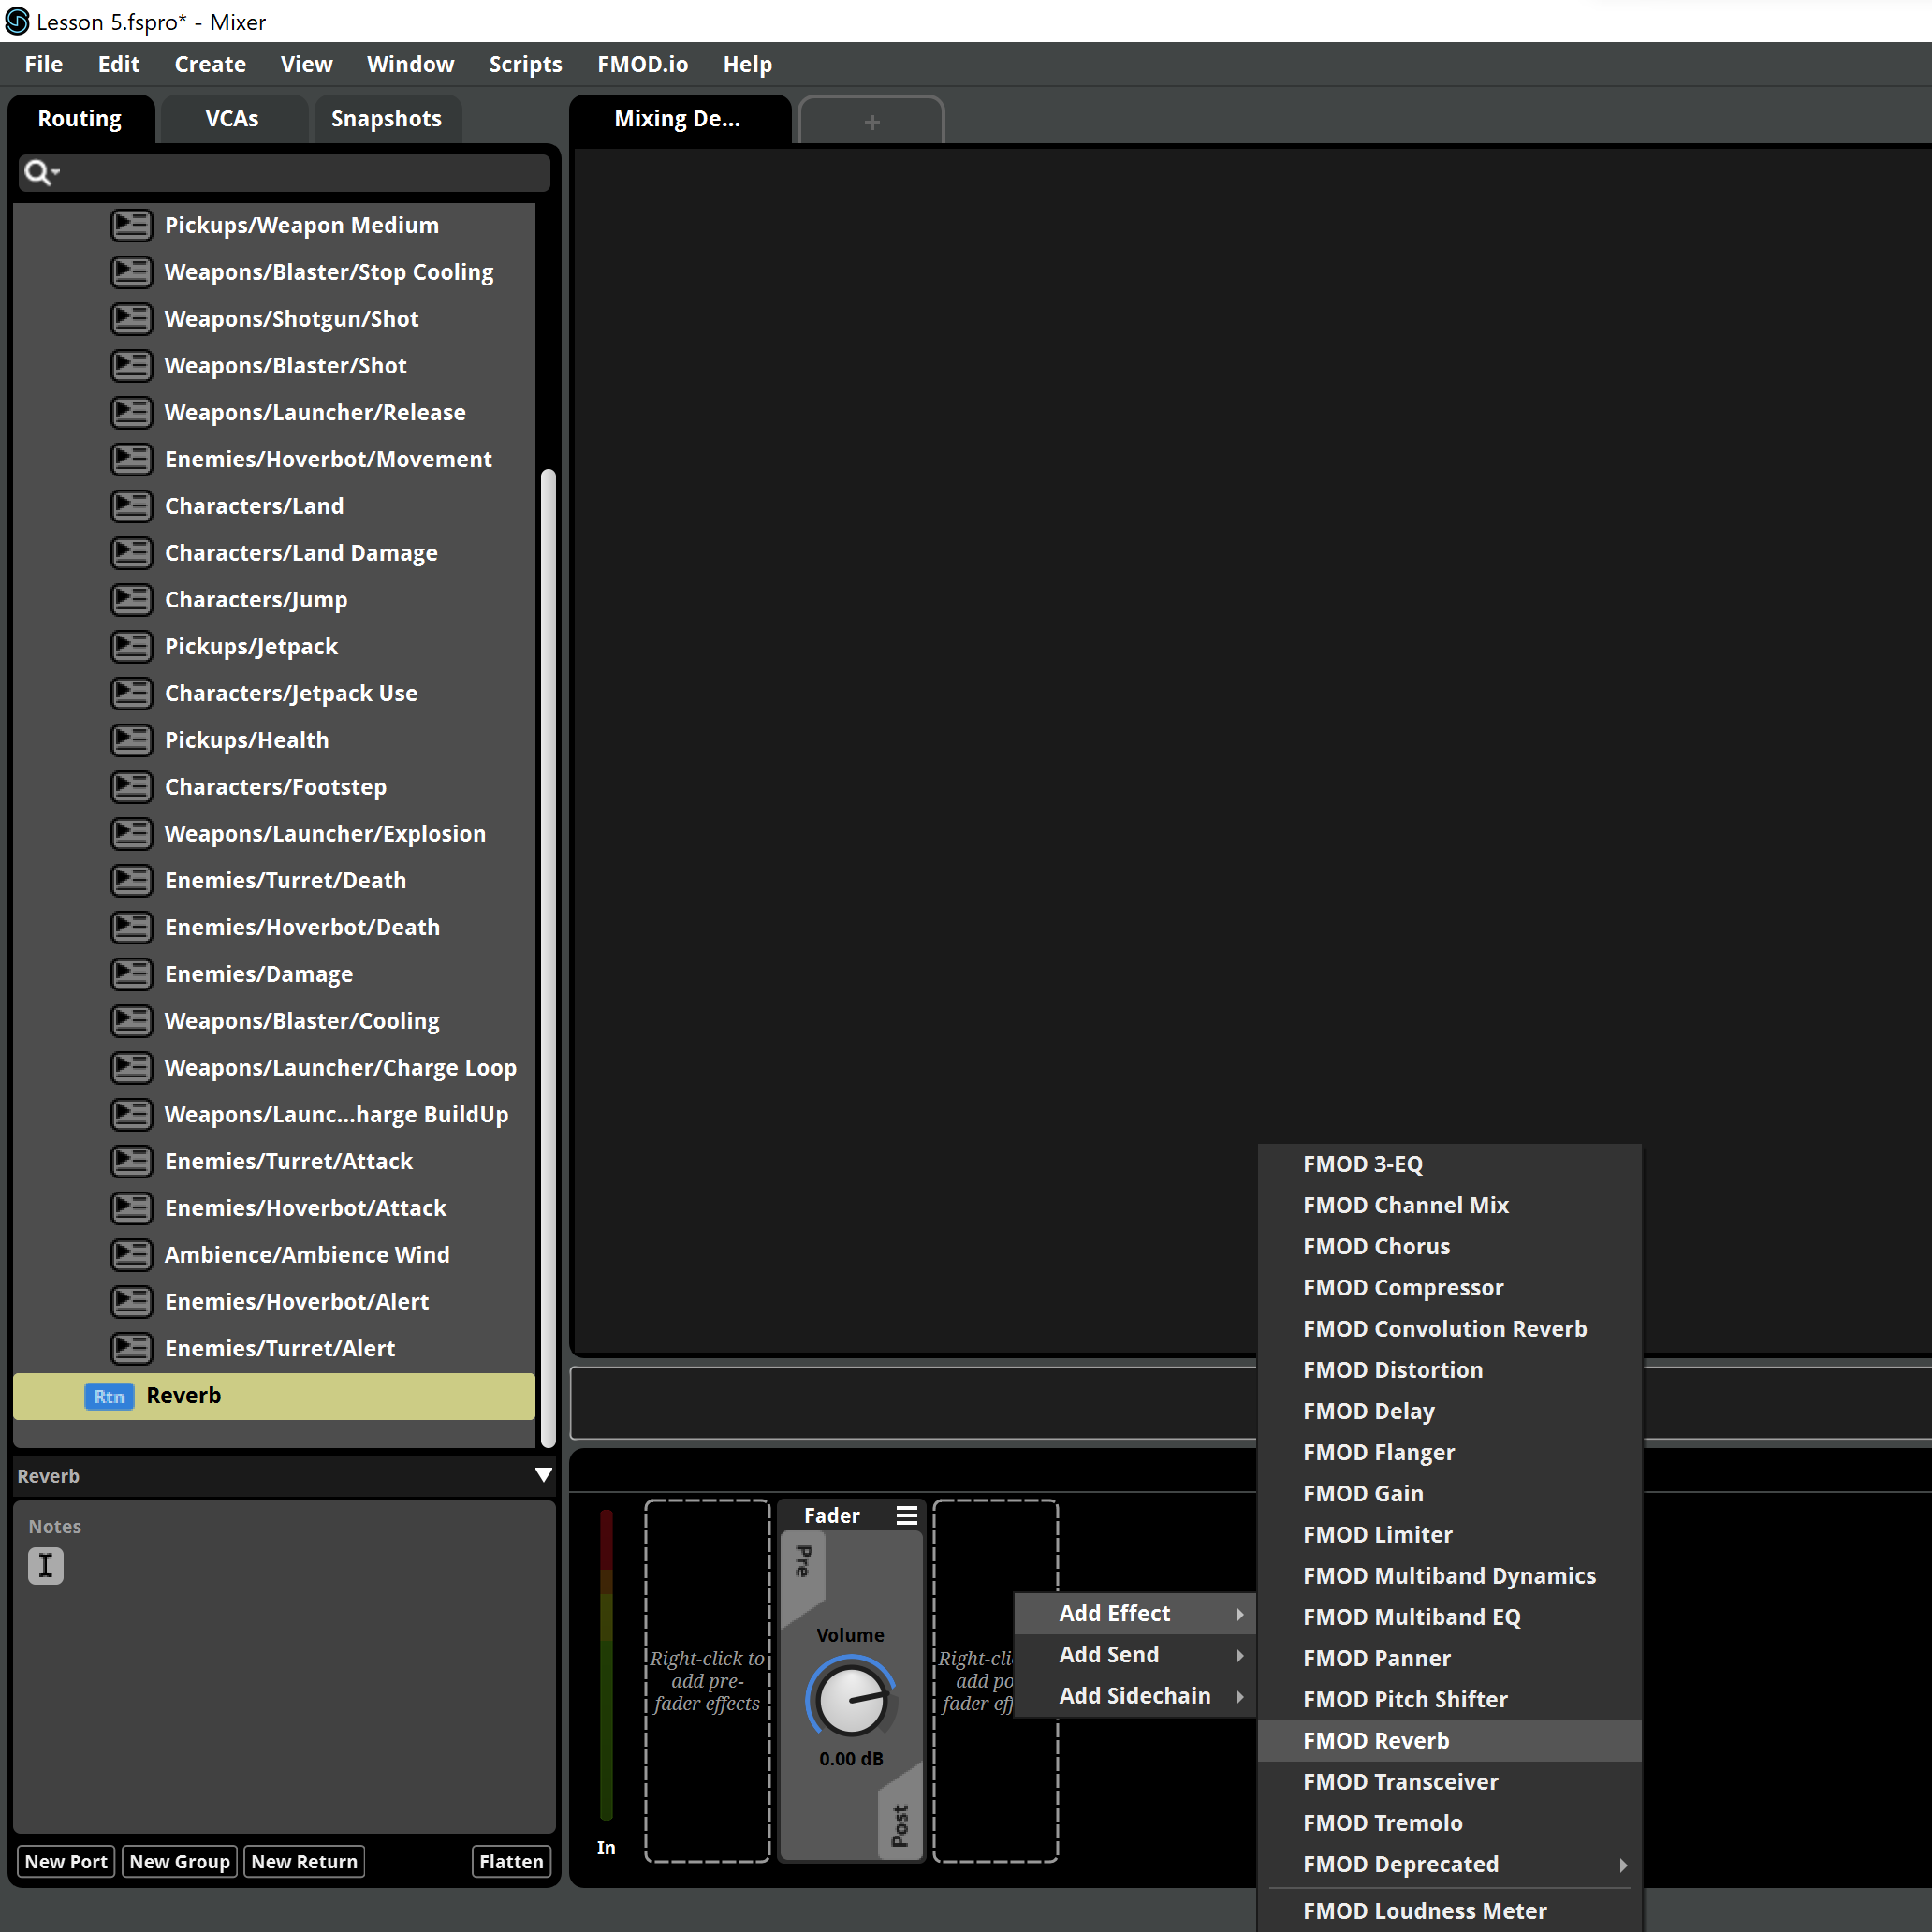
- Now we'll set the reverb effect for the Return, so choose the Reverb Return and add a post-fader Reverb effect by right-clicking and choosing Add Effect > FMOD Reverb.
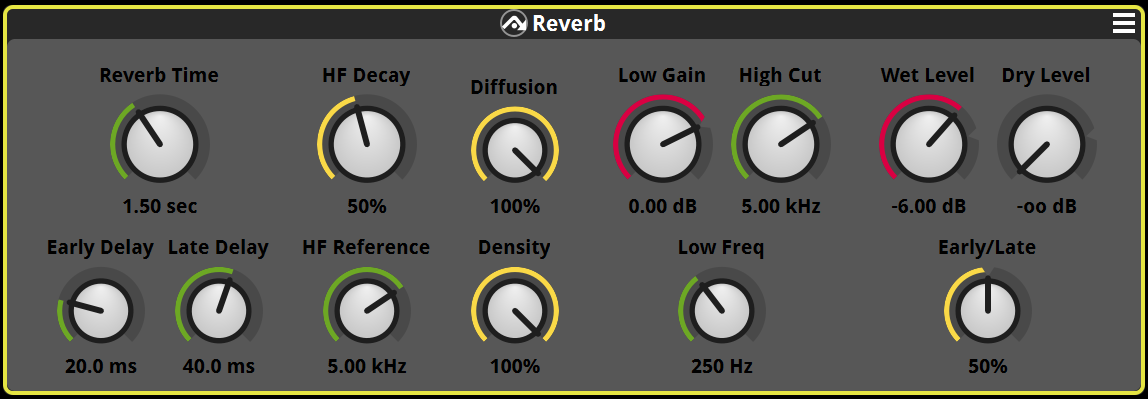
- These are the default values, but we should turn down the Dry Level to prevent the original signal from being added to the Group sound and duplicate its volume.
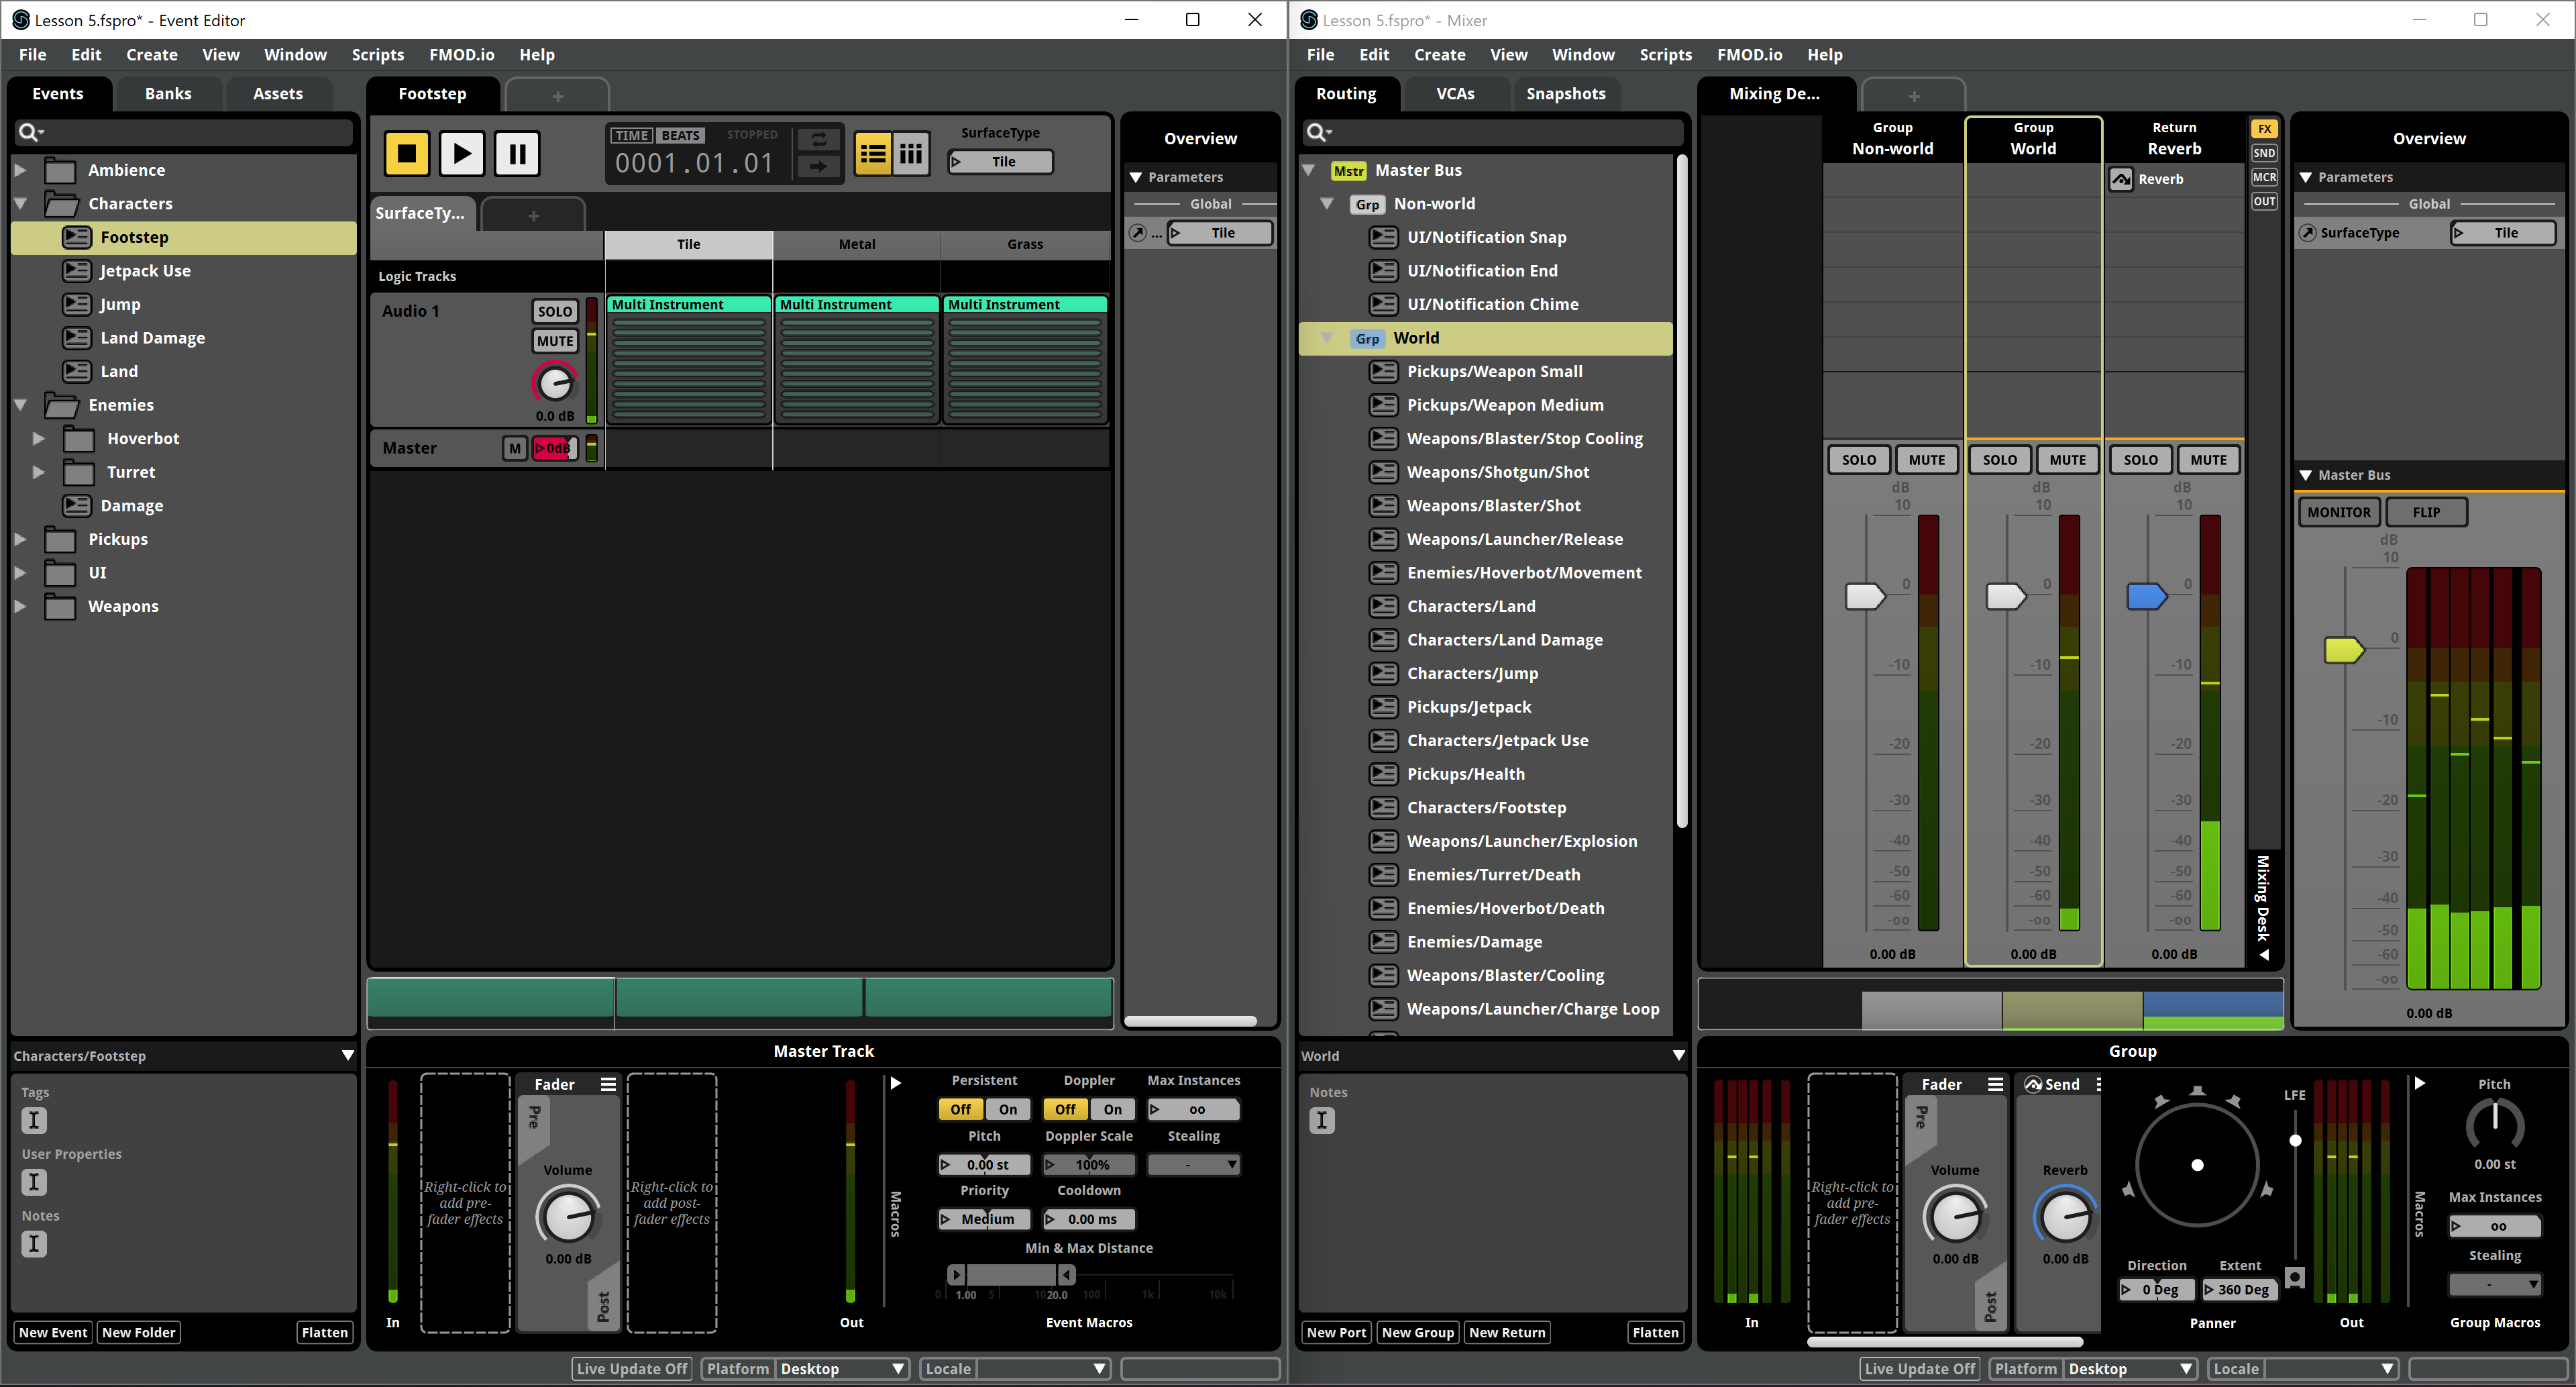
- Now we can manually enable the send with the knob of the World group Send effect. In order to play some sounds to test the reverb, you'll need to acces the original FMOD window to play some sounds to listen to them.
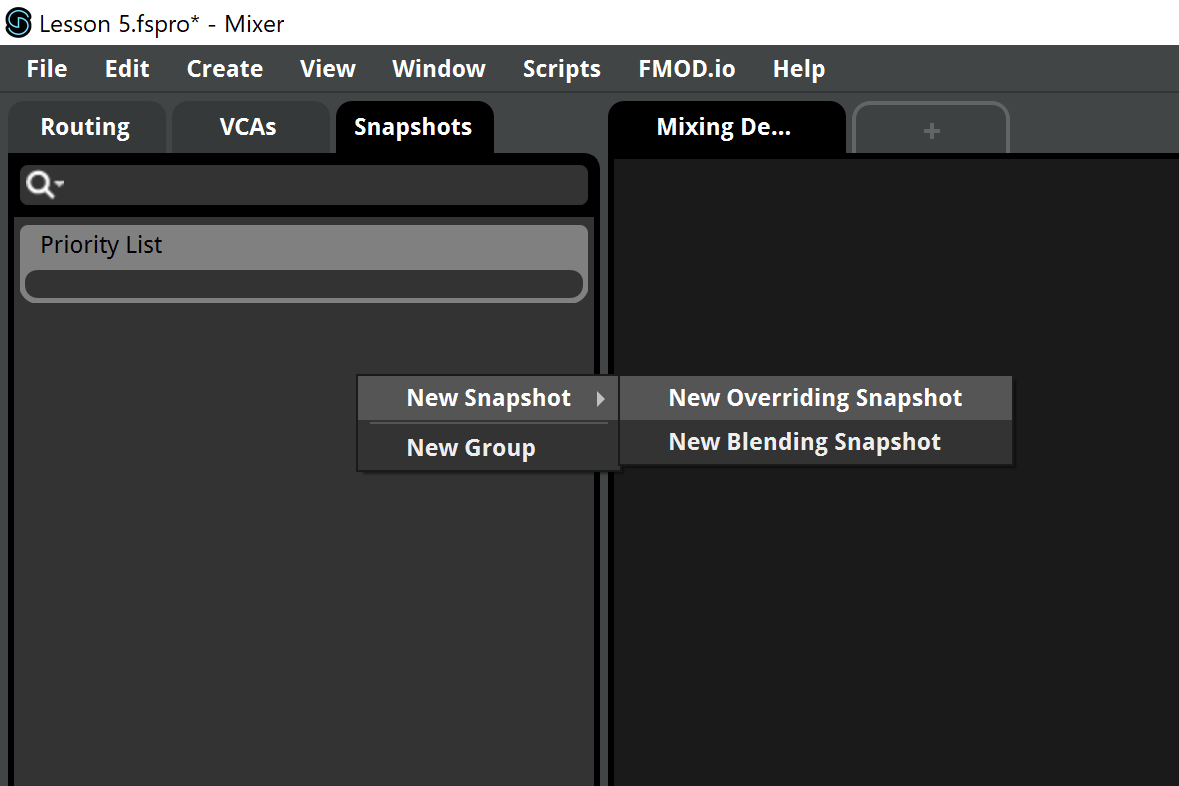
- While the game can't directly access the mixer, it can enable and disable Snapshots. Click the Snapshots tab to see the snapshot list, which is currently empty. We'll have to create an Overriding Snapshots. Right-click the empty list and choose New Snapshot > New Overriding Snapshot.
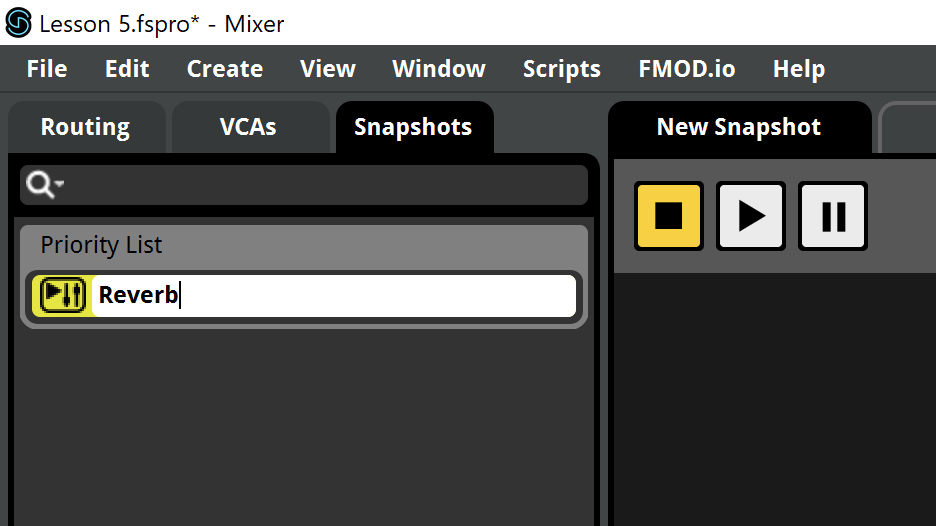
- We must use the names defined in the game: Reverb. Actually, snapshots are treated like events by FMOD, they're posted ans stopped like any other event.
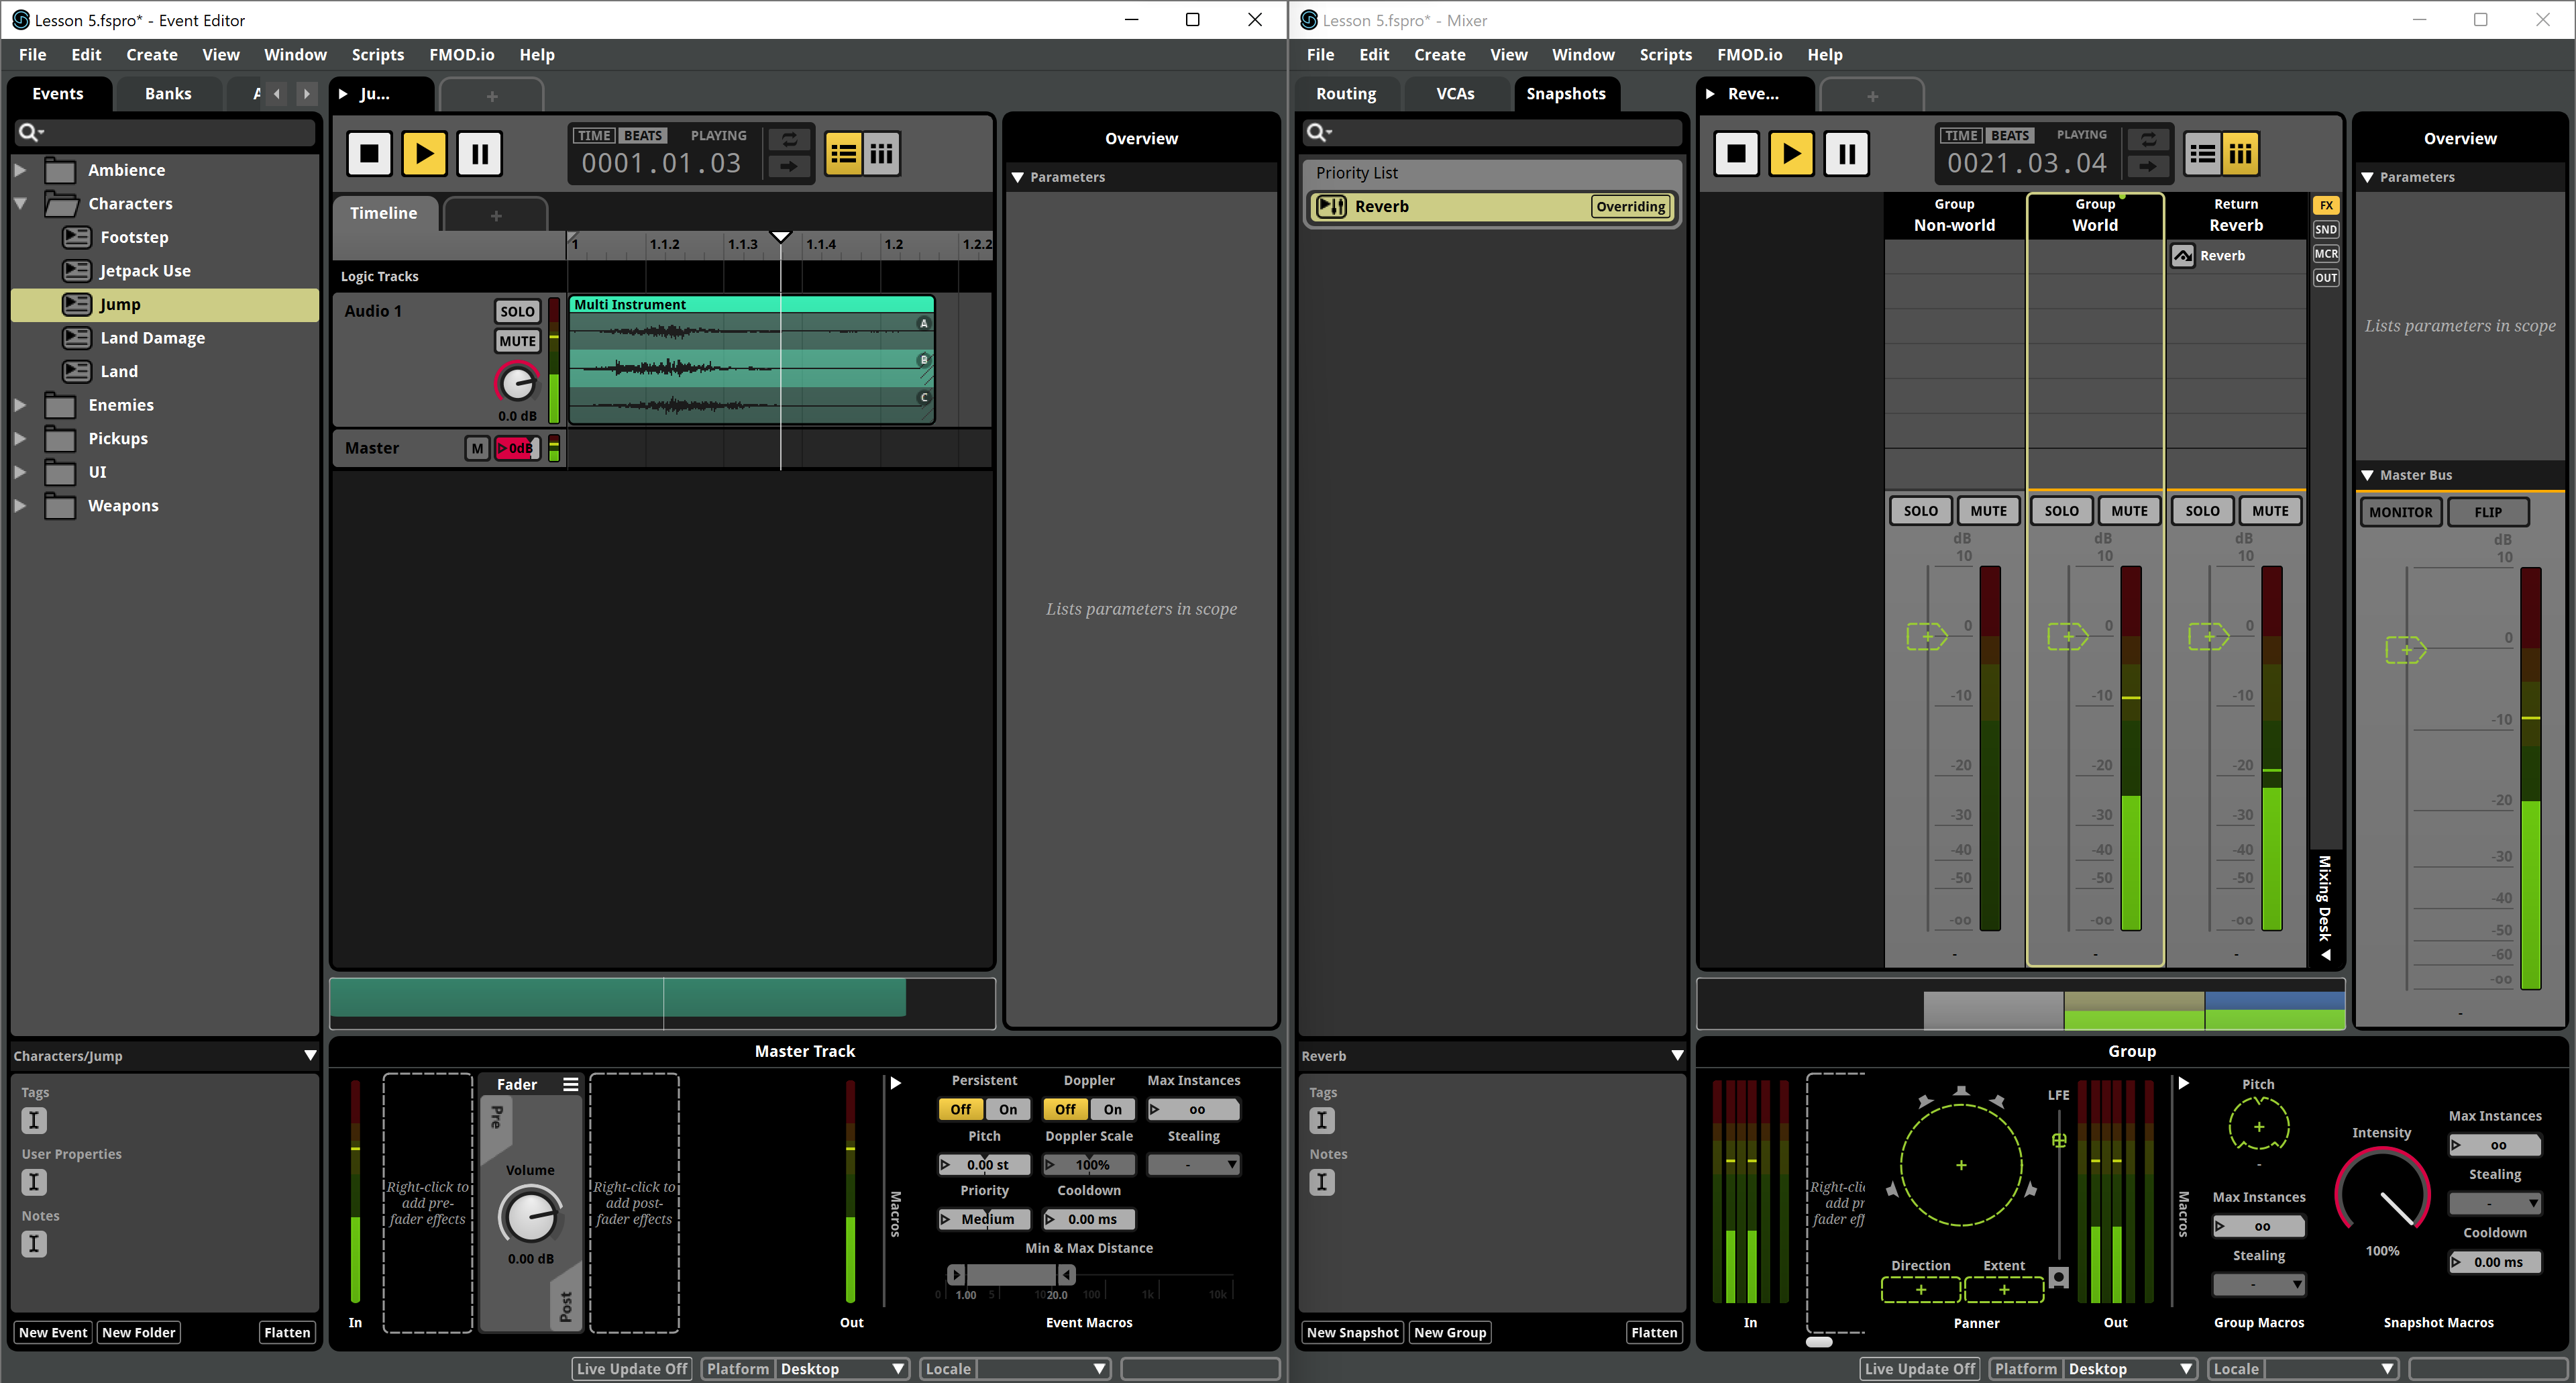
- Now select the Reverb snapshot, go back to the Routing tab and look at the Send. You'll notice that there's a dotted line in the knobs. This means the Snapshot doesn't affect them for now.

- Turn the Send up to 0 dB. This will be the send level for this snapshot. Now you can see the control, which mean the snapshot will apply that volume while it's enabled. There's an option in the right-click menu to disconnect it from the snapshot again.

- Now we can try the Snapshot effect over the sounds. In the Snapshots tab, select the snapshot and click the Play button. The snapshot will be now enabled, so you can hear the sounds with that reverb while playing them from the main FMOD window. When you click the Stop button, you'll hear them dry again.
That's it! You can now go through all the process to rebuild the Bank and test it in game!